

denada.yourcompany.com.
Setting up a custom domain requires owner access to your team.
Setting up a custom domain
1
Add your domain
Go to Settings in the Denada app, scroll to the Custom domain section, and click Set up custom domain. Enter the domain you’d like to use (e.g.
denada.yourcompany.com).2
Create a CNAME record
At your DNS provider, create a CNAME record pointing your domain to
pages.heydenada.com. The dialog shows this target with a click-to-copy shortcut.3
Verify
Your domain appears in the panel with a Pending badge while Denada provisions it and issues a TLS certificate. Click the domain and choose Check status to re-check — once your CNAME record is in place, the badge switches to Active.
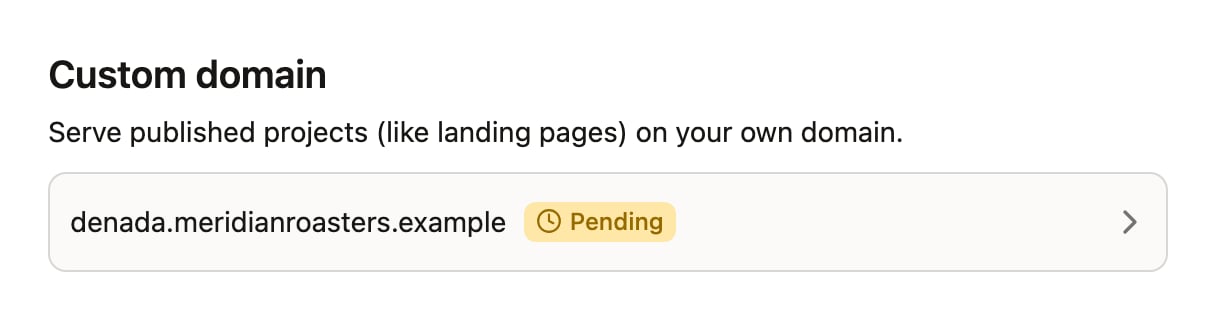
DNS changes can take up to 48 hours to propagate, though most complete within a few minutes.
Domain status
Changing or removing your domain
Click your domain in the Custom domain panel:- Change domain — enter a new domain. The old one is disconnected first.
- Remove — disconnect the domain. Published projects will no longer be accessible at that address (they remain available at their default Denada URLs).
A domain can only be connected to one Denada team at a time. If you see “This domain is already in use,” it’s connected to another team — remove it there first.