

Send designs from Figma to Denada
The Export to Denada plugin (available in the Figma Community) exports any selected frame or layer directly into your Denada team’s image library — no downloading and re-uploading files.Set up the plugin
1
Install the plugin
Install Export to Denada from the Figma Community and open it in your Figma file.
2
Get a team API token
The plugin authenticates with a team API token. A team manager can create one on your team’s Settings page under API tokens — see API tokens.
3
Enter the token
Paste the token into the Denada API Token field at the bottom of the plugin. The token is saved with the Figma document and shared with everyone editing it, so your whole design team only needs to set it up once per file.
Export a frame or layer
- Select a single frame or layer — the plugin shows a live preview of what will be exported.
- Optionally adjust the export settings:
- Name — the name for the image in Denada; defaults to the layer’s name.
- Size — a scale factor like
2x(the default), or an exact width or height like500wor500h. - Format — JPG (default), PNG, or SVG.
- Click Export to Denada.
Using imported images
Once in your image library, Figma exports work like any other image — you can insert them into projects, crop them, organize them into collections, and edit their metadata. Each one keeps its Figma context (document name and layer path) so you can tell where it came from. For more on managing images, see Image library.Take a project into Figma
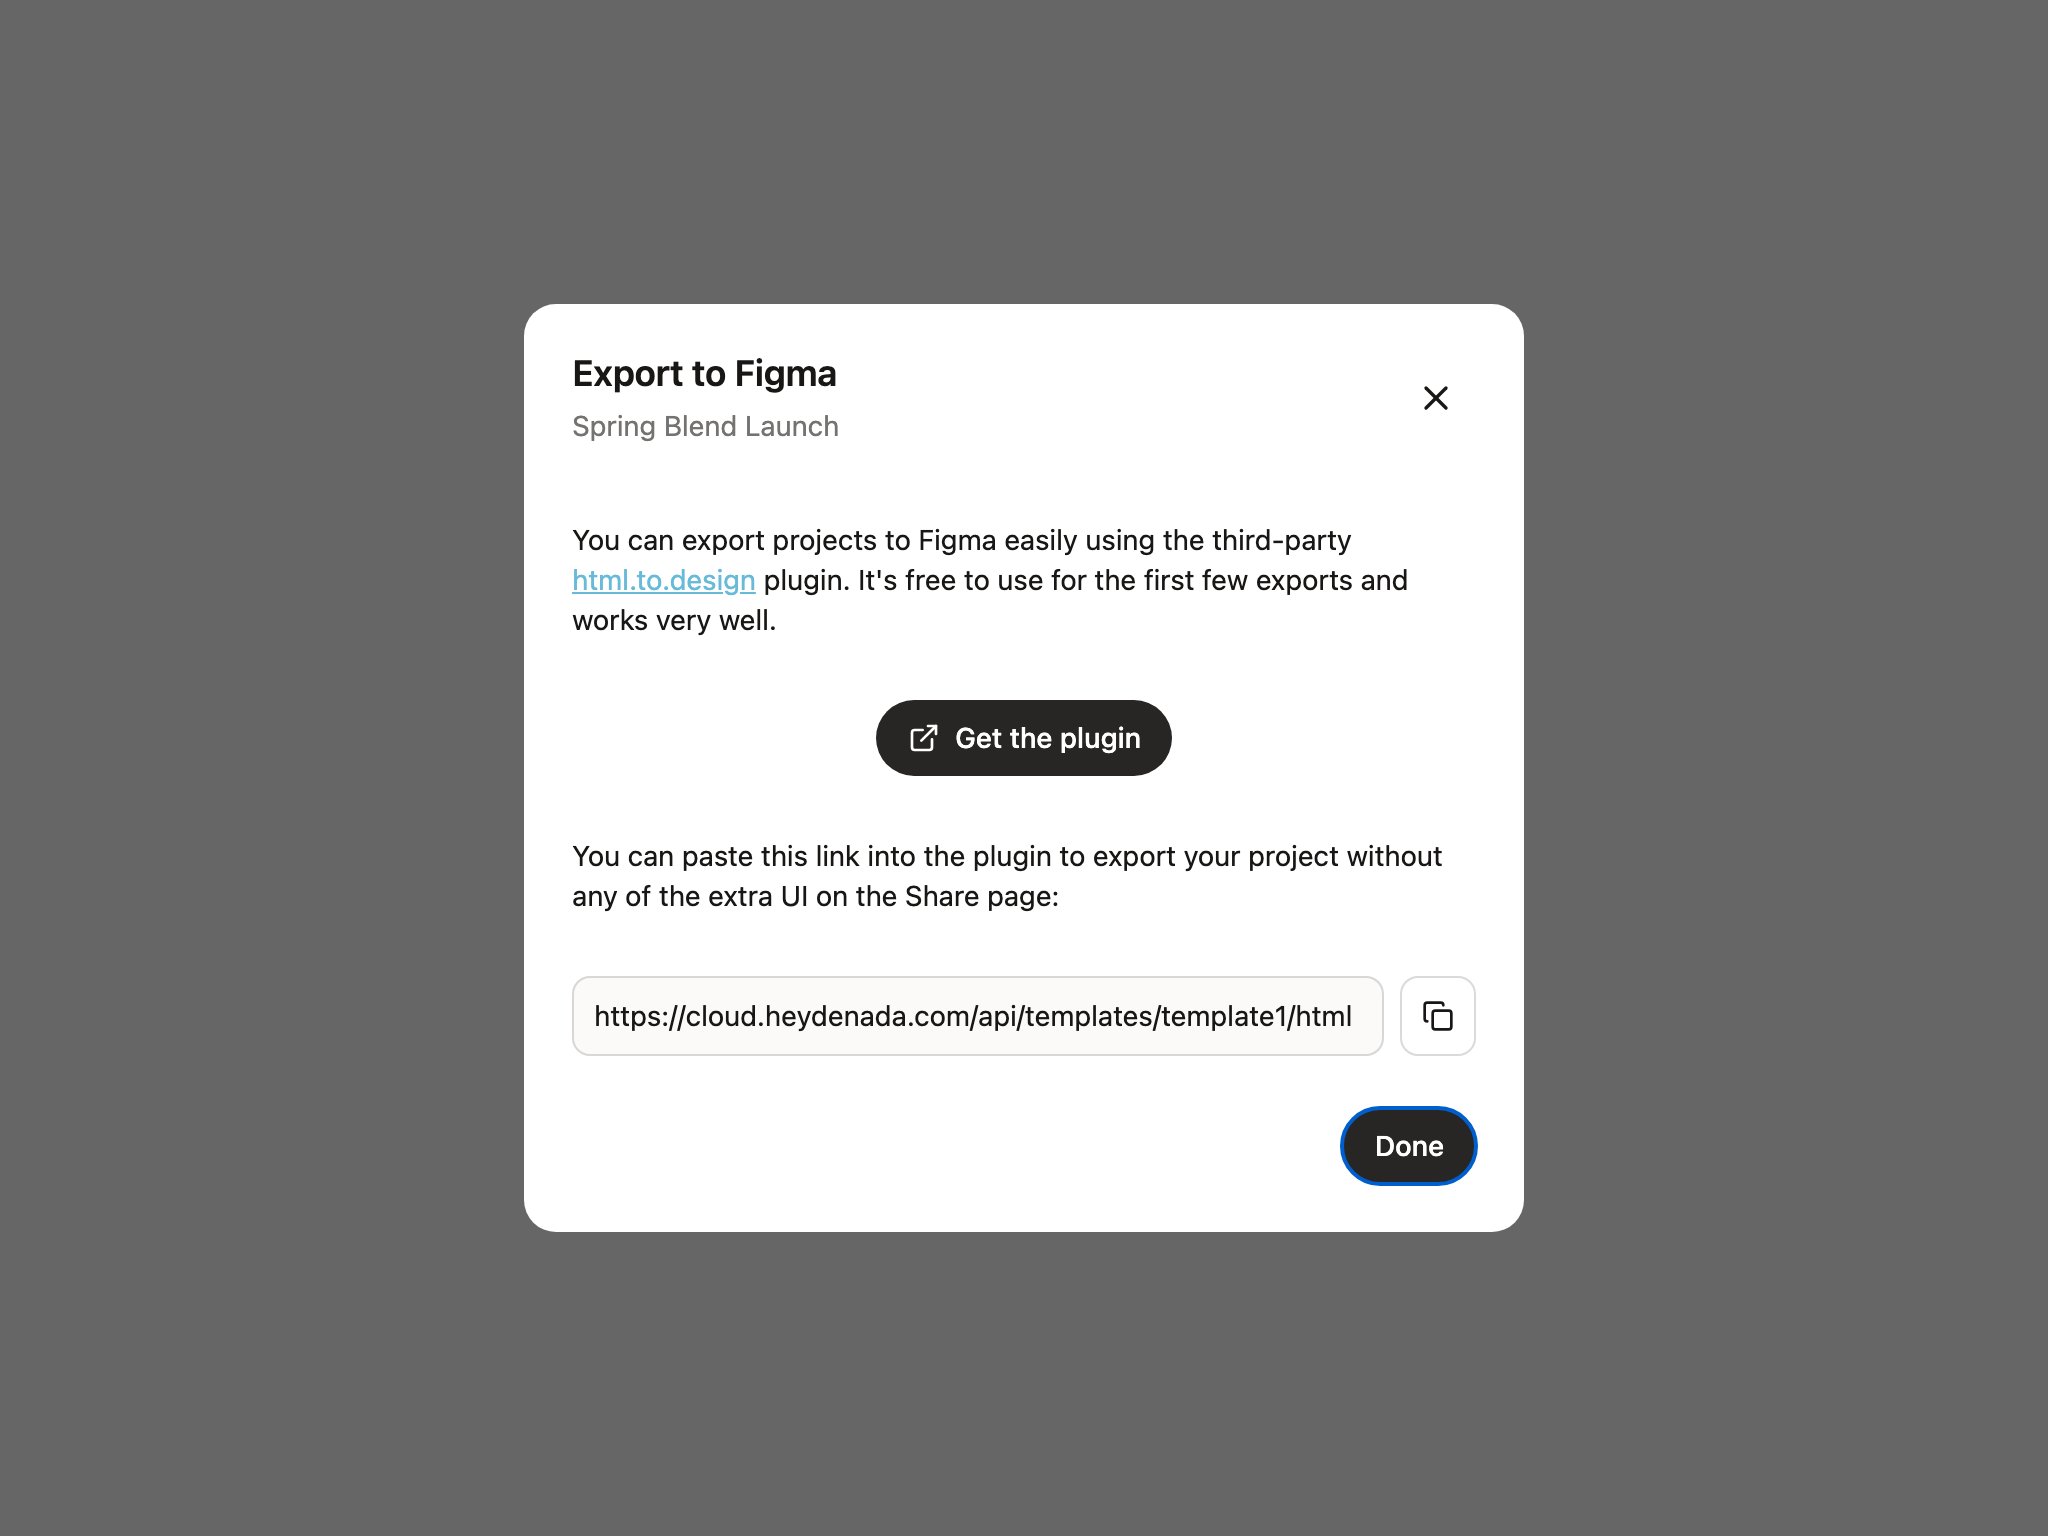
Going the other direction — say, to hand a finished email to designers for further work — Denada points you at the excellent third-party html.to.design plugin, which imports web pages into Figma as editable layers.- Open the project and click Share.
- Select Export to Figma.
- The dialog links you to the plugin (Get the plugin) and gives you a clean, copyable link to your project’s rendered HTML — paste that link into html.to.design inside Figma to import the design without any of the surrounding Denada UI.
html.to.design is free for the first few imports and works very well, but it’s a third-party plugin — pricing and behavior are up to its developers.