

Creating and editing libraries requires the Libraries permission on your team. If you don’t see Libraries in the sidebar, ask a team owner to grant it.
Create a new library
1
Open the Libraries section
Click Libraries in the sidebar.
2
Start a new library
Click the New library button and choose Create new.
3
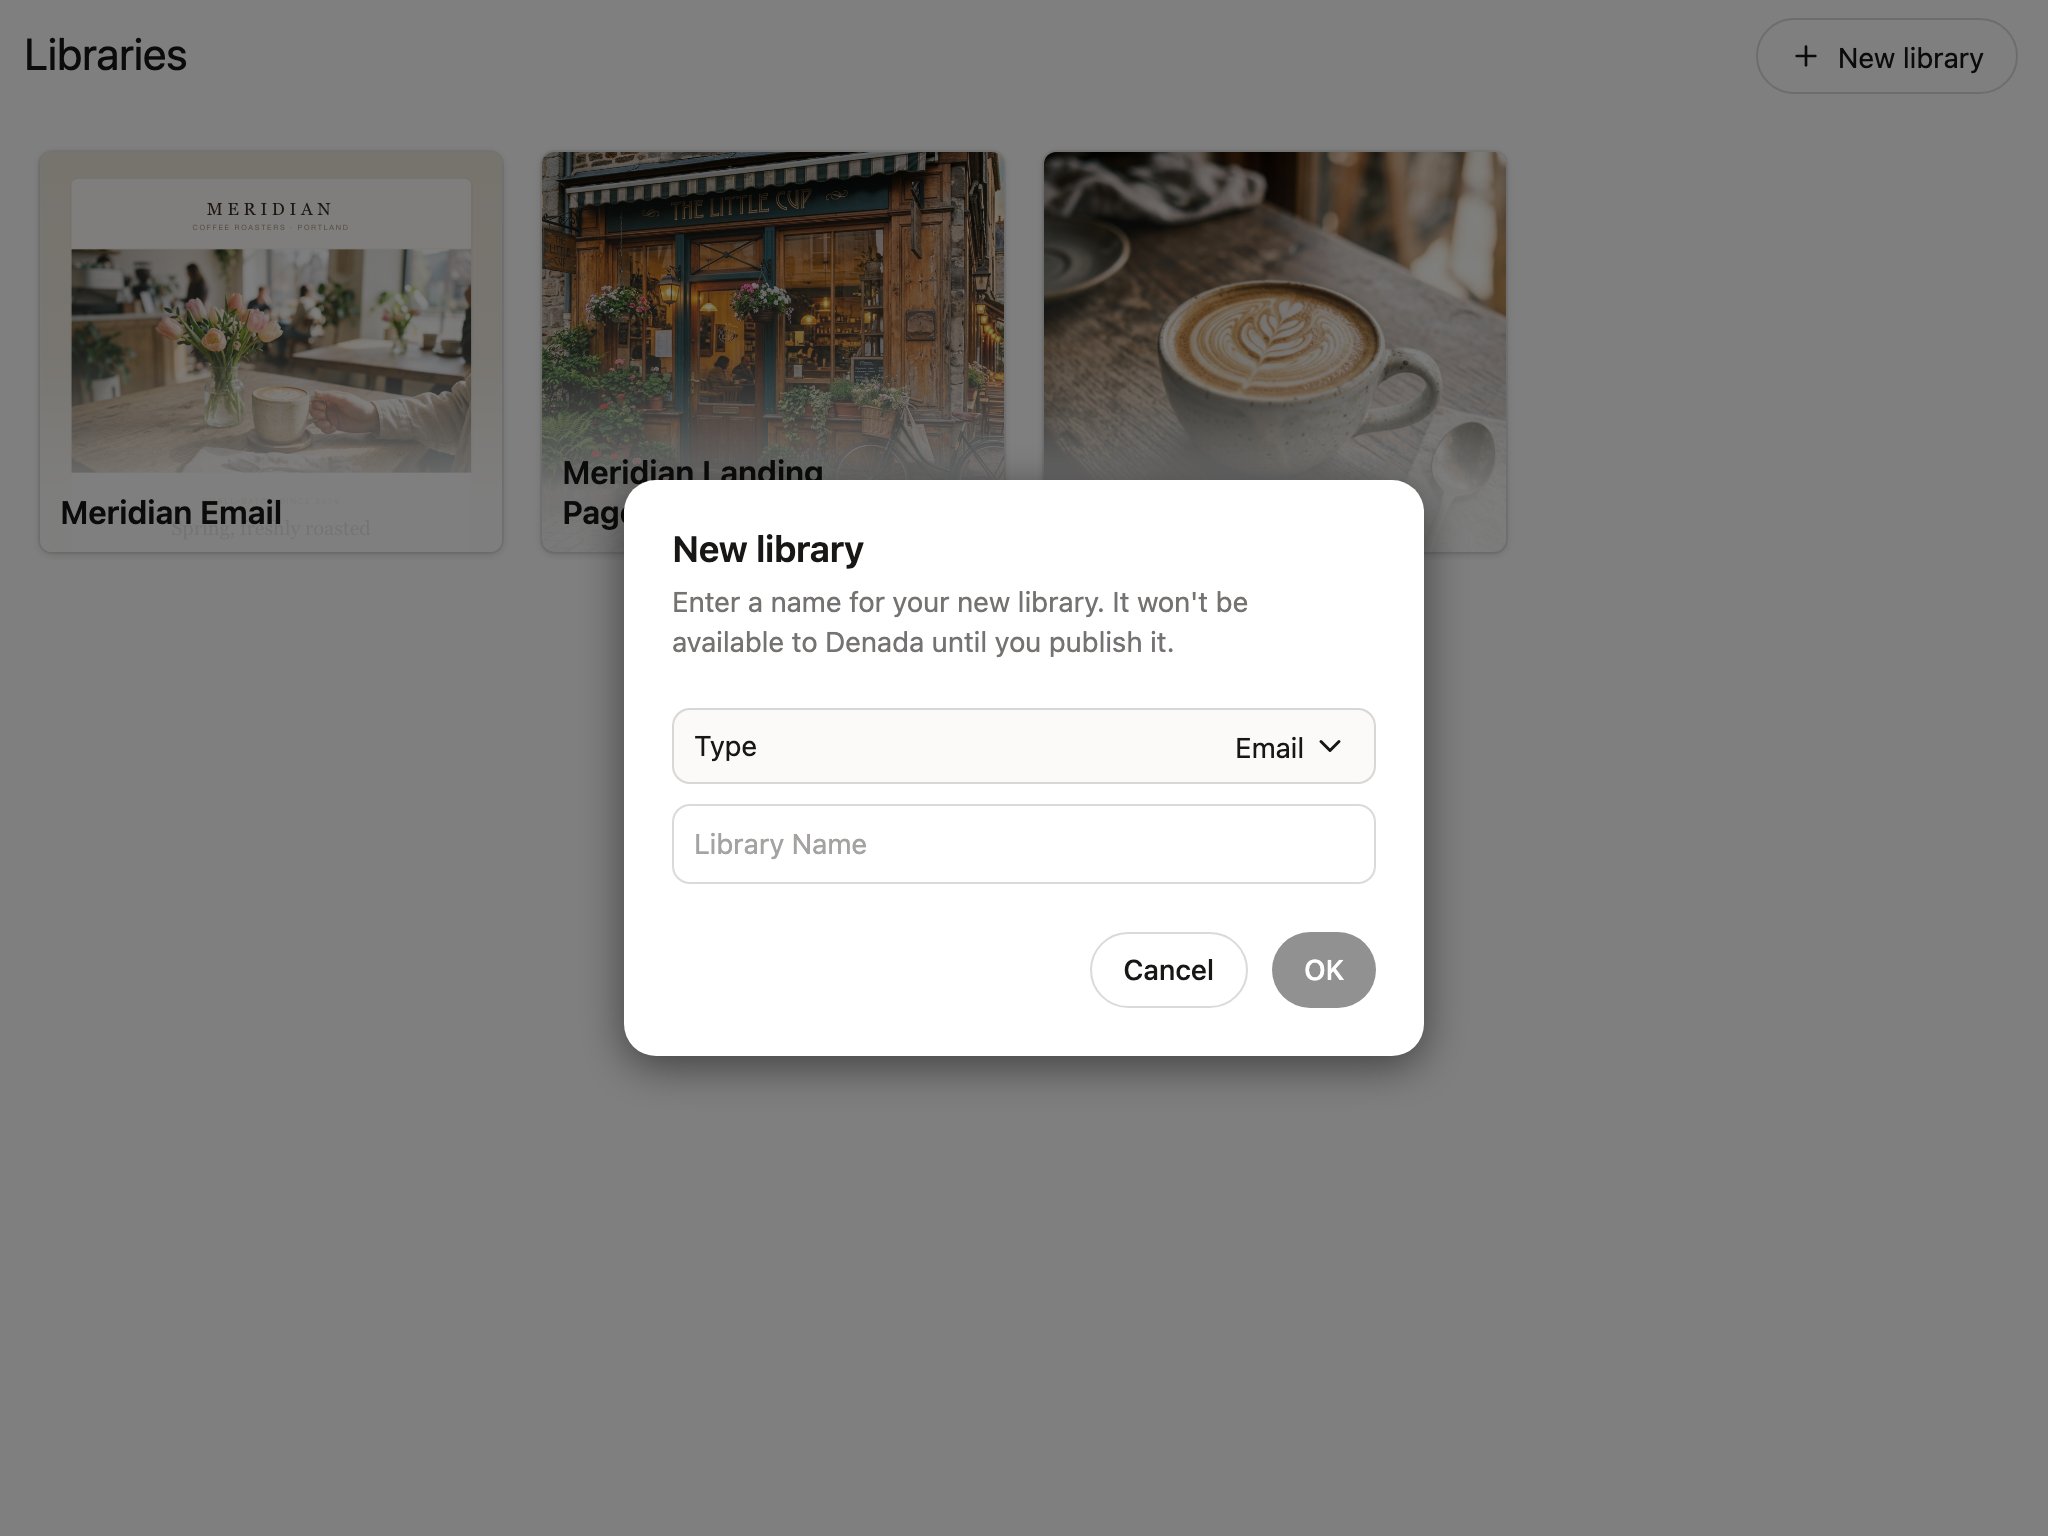
Name it and pick a type
Enter a name and choose the Type — Email or Site (landing pages). The library starts unpublished, so it won’t be available for projects until you’re ready.
Build blocks with chat
The fastest way to fill a new library is to describe what you need in the library editor’s Chat tab. Denada builds blocks with appropriate parameters based on your description, and you can keep chatting to refine the design. Example prompt:“Create blocks for our e-commerce brand. I need a hero block with a full-width image and headline, a two-column product feature block, a testimonial block, and a simple footer with social links. Use a clean, modern style.”You can also connect an external AI agent like Claude Code and have it build or edit the library from your own machine — see Working with AI agents.
Start from existing HTML
If you already have HTML — from an existing email, another tool, or a designer — you can bring it into a library you’ve created:- In the library editor’s Edit tab, click New and choose New empty block…, then paste your HTML into the block’s HTML editor.
- Or open the library menu and choose Edit combined HTML to work on all of the library’s block HTML in a single document.
The quality of the result depends on the structure of the source HTML. Well-organized, semantic HTML is the best starting point, and you’ll typically follow up by defining parameters so the content becomes editable.
Import a .library file
Libraries can be exported to a portable .library file (open any library’s menu and choose Export library) and imported into another team.
- Click Libraries in the sidebar.
- Click the New library button and choose Import library.
- Select the
.libraryfile. Denada recreates the library with all of its blocks and parameters.
Work with the Denada team
For fully custom libraries — especially when you need pixel-perfect brand compliance or complex layouts — the Denada team can build a library tailored to your specifications.- Send your existing designs. Provide your current emails or pages and the team will recreate them as a Denada library with full parameterization.
- Start from a brief. Share your brand guidelines, example designs, and requirements. The team designs and builds the library from scratch.
After creating a library
Once your library is ready, you can:- Continue refining blocks and parameters in the library editor.
- Turn on Published in the library editor’s Options tab so your team can build with it.
- Use it in any new project — see Using libraries in projects.