The sidebar
The left sidebar is your main navigation hub: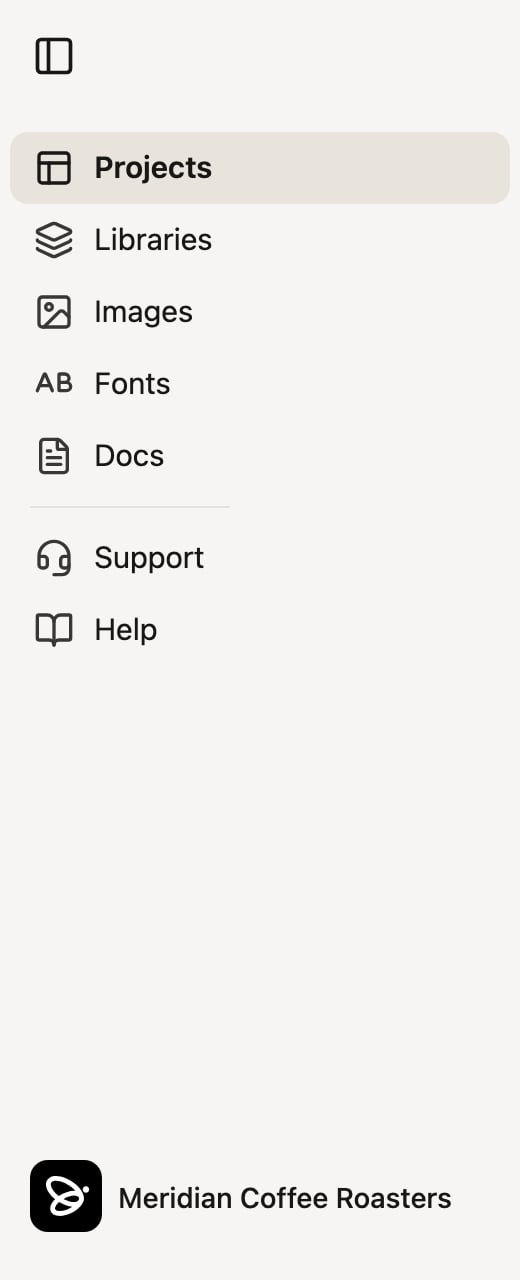
- Projects — browse and organize your team’s projects.
- Libraries — view your team’s design libraries. This section appears only if you have library permissions on your team.
- Images — your team’s image library.
- Fonts — host custom web fonts for your libraries (also permission-gated, like Libraries).
- Docs — reference documents like brand guidelines that Denada can read while it works.
- Support — chat directly with the Denada support team.
- Help — opens this help site in a new tab.
On the Team plan, the Projects section gains Mine, Team, and Private filters so you can separate your own work, shared team work, and private drafts. The Images section similarly lists your image collections.
Search
Click the search button at the top of the sidebar — or press Cmd+K (Ctrl+K on Windows) from anywhere — to open a search dialog that jumps straight to projects, folders, images, chats, comments, and canvases across your team.The project view
Inside a project, the preview and the editing tools live side by side:- Left side — the live preview of your email or landing page. For emails, the subject line appears above the preview, and you can switch between desktop and mobile widths. The Share button in the toolbar handles publishing and exporting.
- Right side — a sidebar with tabs: Chat, Edit, Variations, Comments, and Options. Use Chat to work conversationally with Denada, Edit for direct control over blocks and parameters, and Options for project settings and version history.
Teams
Everything in Denada lives inside a team. A team can be a whole marketing department or just you — projects, images, libraries, and docs are all scoped to the team you’re currently viewing. If you belong to more than one team, switch between them from the team menu at the bottom of the sidebar. Learn more about team managementAppearance
Denada follows your device’s appearance setting automatically — if your system is in dark mode, so is Denada.This overview is a high-level look at the app. Each area has more advanced
capabilities covered in its dedicated documentation.