Supported platforms
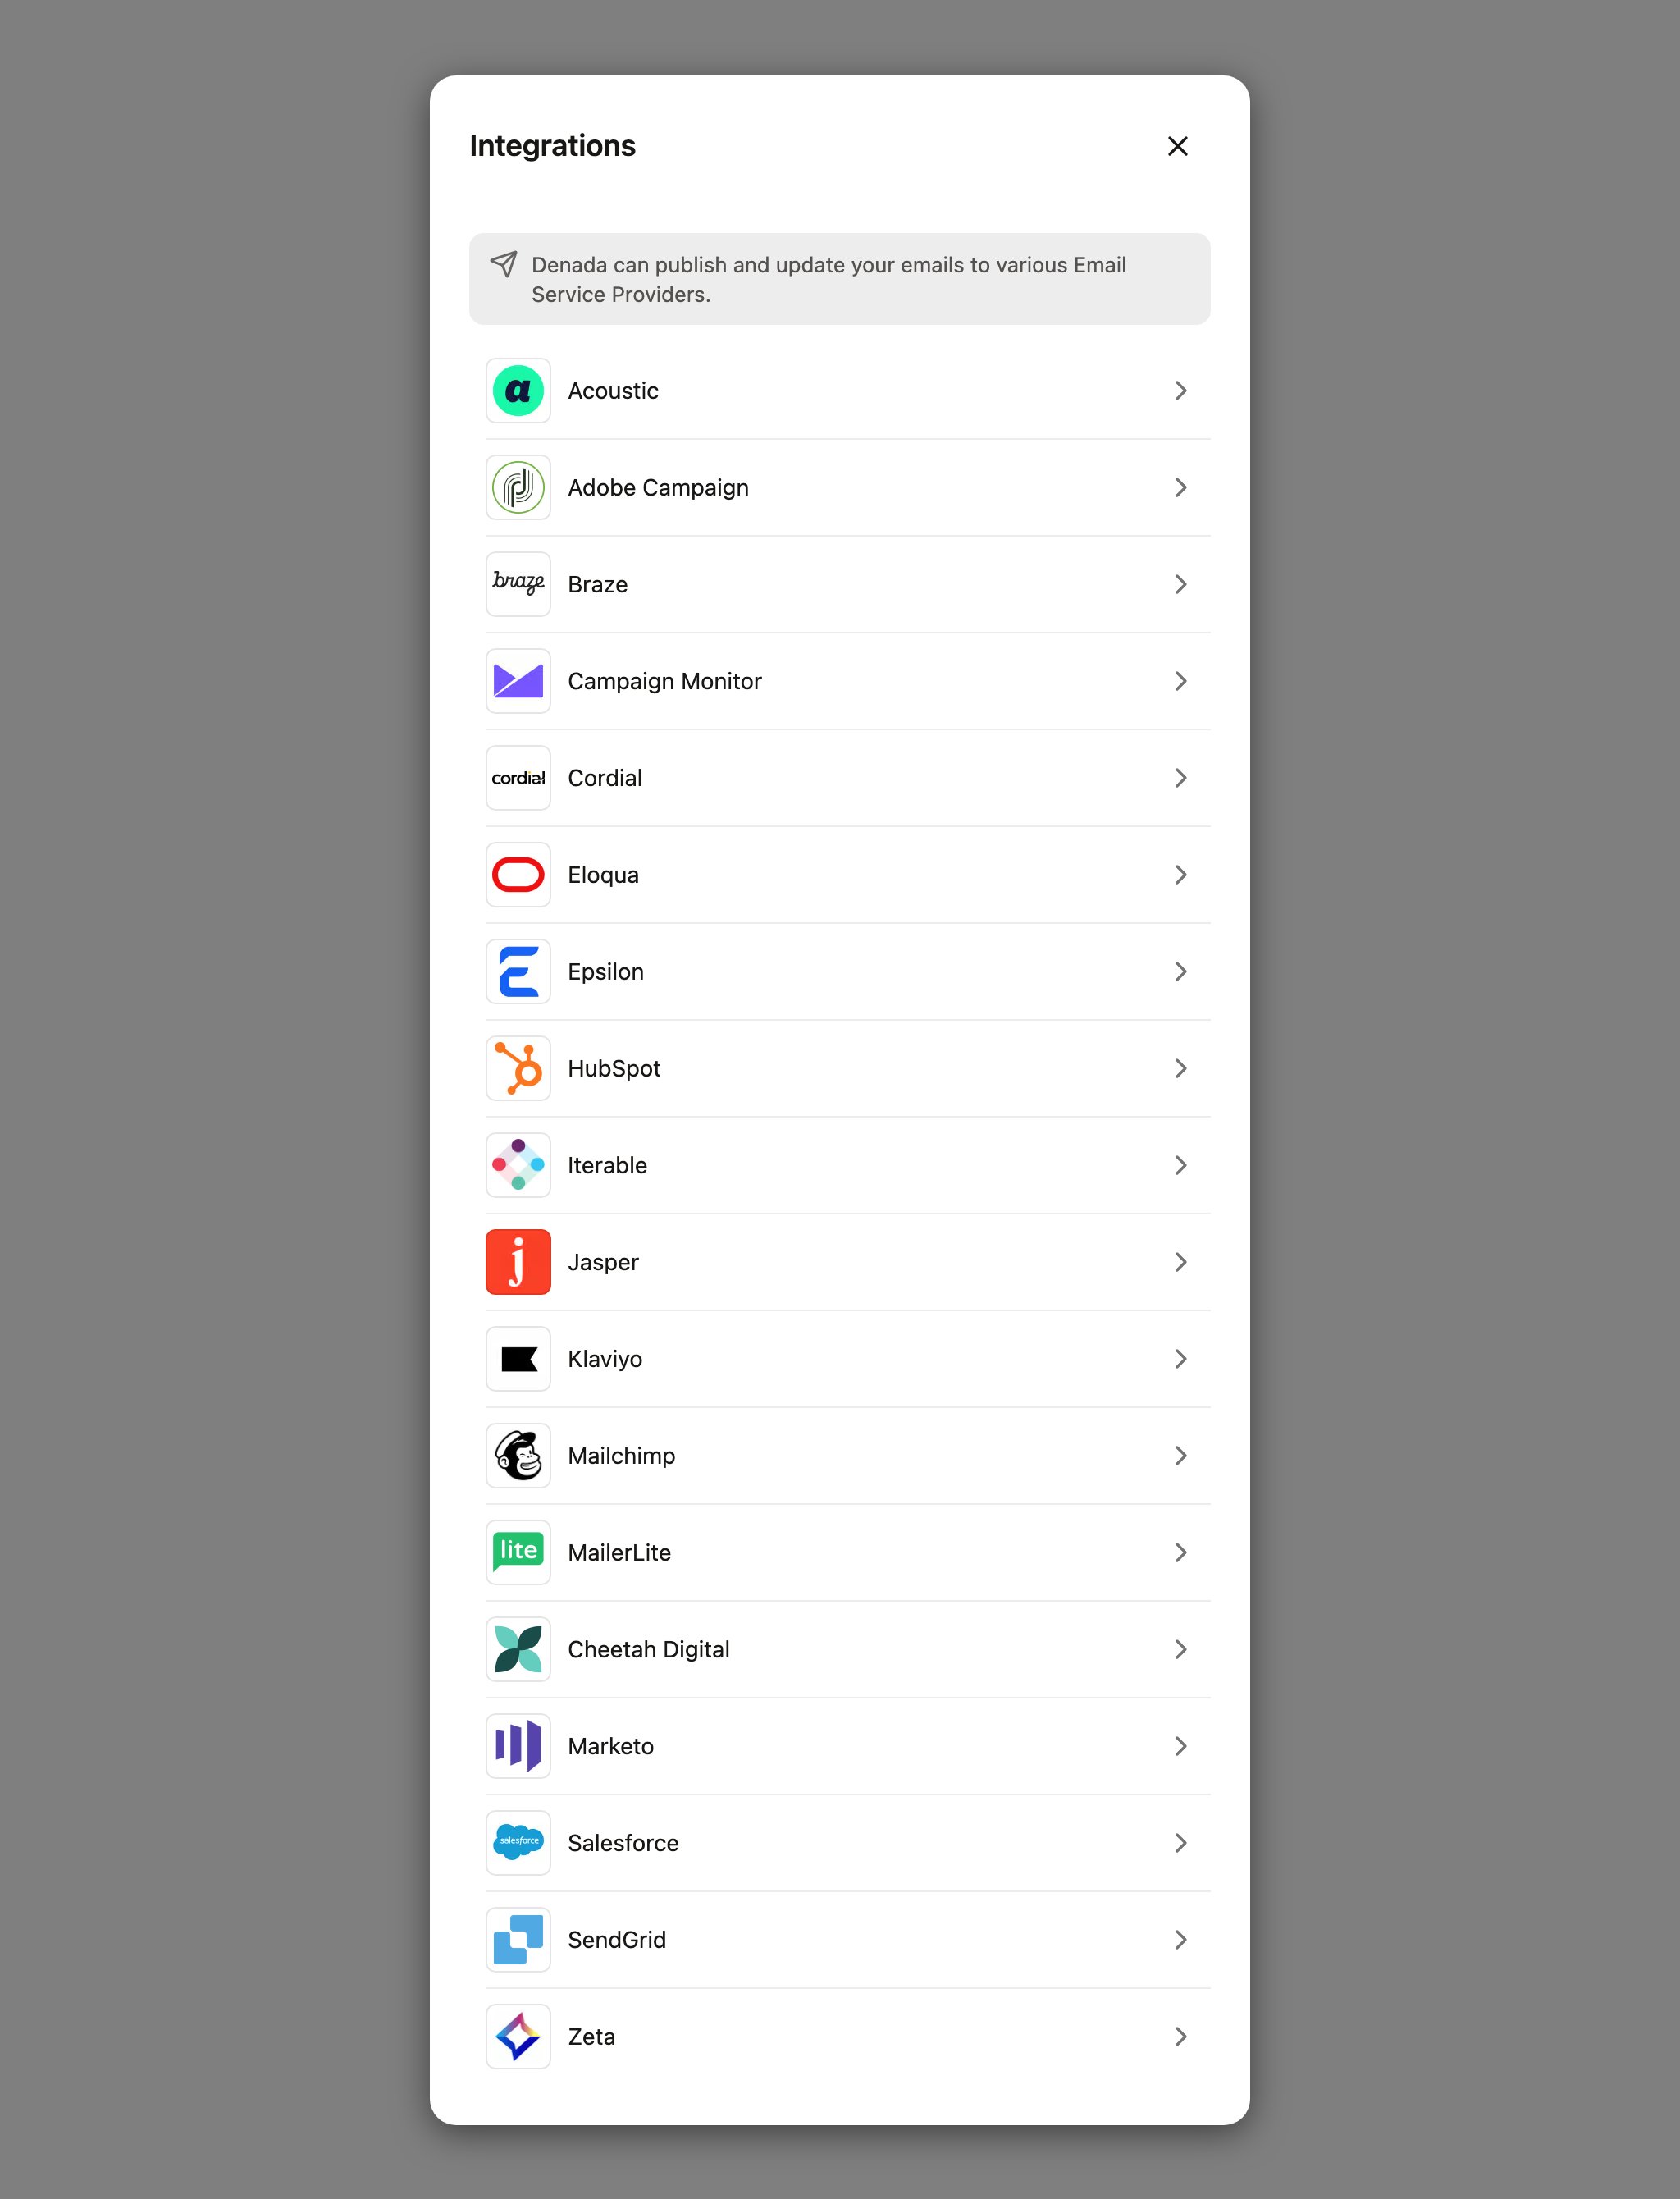
Denada supports direct integrations with the following ESPs:
Two more integrations work differently from the email destinations above:
- Figma — send designs from Figma into your Denada image library, or take a finished project into Figma.
- Jasper — an AI integration: connecting Jasper gives Denada’s chat access to Jasper’s tools. It is not an email export destination.
Setting up an integration
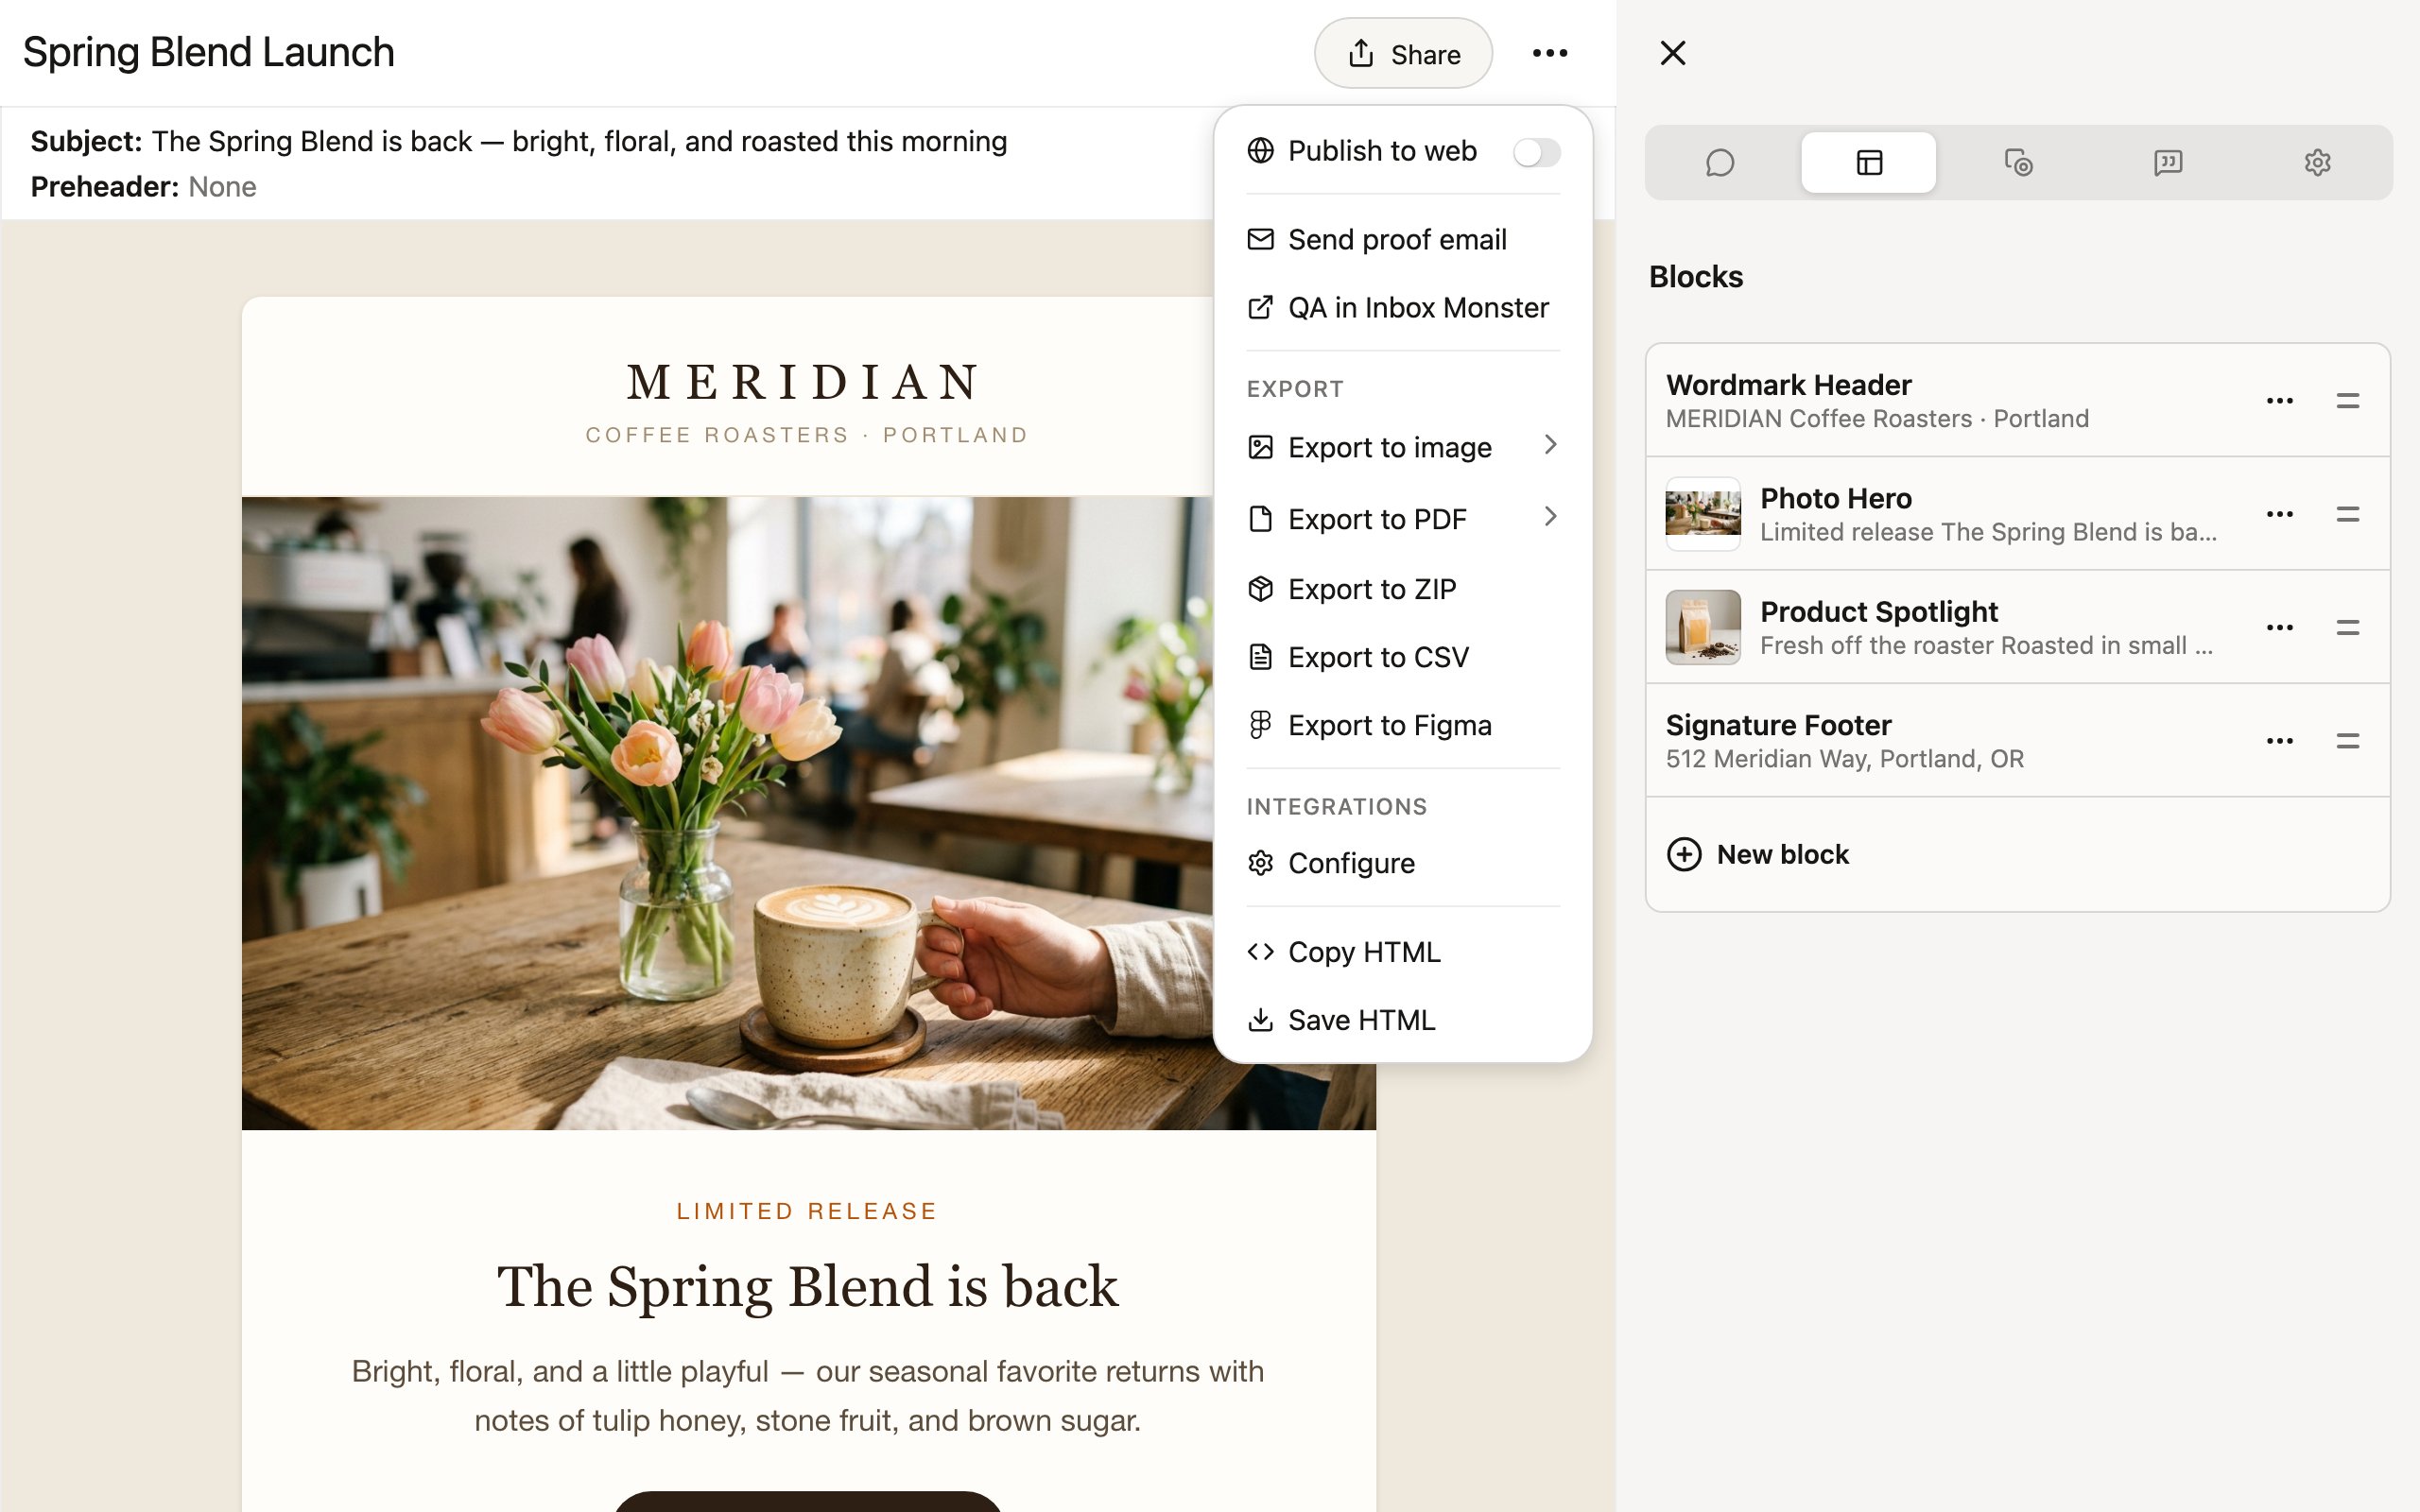
There are two ways to reach the same setup dialog:- From any project — click Share, then under Integrations, click Configure.
- From team settings — open your team’s Settings page, find the Integrations panel, and click Add integration. This panel is visible to team members with the manager role or above.
1
Select your platform
In the Integrations dialog, pick your platform from the list. Any integrations you’ve already set up appear at the top under Already setup.
2
Enter your credentials
Each platform asks for its own credentials — typically an API key or token created in your ESP’s settings. You can also give the configuration an optional Name, which is helpful if you have multiple accounts or projects on the same platform.
3
Validate
Click Validate to test the credentials against your ESP before saving. Denada makes a real API call and tells you exactly what’s wrong if it fails.
4
Save
Click Save. The integration is now available to your whole team.
Most ESPs require a server-side or admin-level API key. Check the individual integration page for the specific key type and permissions required for your platform.
Pushing an email to your ESP
Once an integration is configured:- Open the project you want to push and click Share.
- Under Integrations, select Export to [platform name].
- Fill in the platform’s export dialog — typically a name for the email as it will appear in your ESP, plus platform-specific options like a destination folder or image hosting.
- Click Export.
How updates work
The export pipeline is designed so you can push the same project again and again without littering your ESP with duplicates:- Re-exporting updates the same asset. Denada records every export, so when you export a project again, most platforms show a Previous export option that updates the previously created asset in place instead of creating a new one. Choose Create new if you’d rather keep both.
- Name collisions are detected first. Before creating anything, most platforms check whether an asset with your chosen name already exists in your ESP. If it does, Denada asks you to confirm before replacing it — you can also cancel and pick a different name.
- Exports are recorded per project. Each successful export is saved with the details of what was created, which is what powers the update-in-place behavior on your next export.
Exporting variations to your ESP
If your project has variations, each one can be pushed to your ESP as its own deliverable. Open the variation you want to export and click Export — the menu shows a banner confirming which variation you’re exporting, and the Export to [platform name] options push just that variation. The Export all variations toggle in the Share menu applies to bulk formats like ZIP and CSV; ESP exports are pushed one variation at a time so each can get its own name in your ESP.Personalization and dynamic content
If your emails use per-recipient dynamic content — merge fields, conditional blocks, block variants — make sure your library’s scripting language matches your ESP (for example, Liquid for Klaviyo or Braze, Django-style for Iterable). Denada emits your ESP’s control structures in the exported HTML, and your ESP resolves them for each recipient at send time. See Personalization & dynamic content.Troubleshooting
I don't see the Export option for my platform
I don't see the Export option for my platform
Make sure at least one integration is configured for that platform. Click Share > Integrations > Configure on any project to set one up.
Validation fails when I enter my API key
Validation fails when I enter my API key
Double-check that you’re using the correct key type. Most platforms require a server-side or admin API key, not a client-side or mobile key. Refer to the specific integration page for details.
My email looks different in the ESP
My email looks different in the ESP
Some ESPs apply their own styling or wrapping to imported emails. Preview the email in your ESP’s built-in preview tool and send a test email to verify rendering.
Export succeeds but I can't find the email in my ESP
Export succeeds but I can't find the email in my ESP
Check the folder or project you exported to. If you have multiple configurations for the same platform, make sure you selected the correct one. Also verify that your API key has permission to create assets.