

SAML 2.0 is the only supported protocol. Denada does not support OpenID Connect (OIDC), and a “bookmark app” style tile won’t work either — it only links to a URL and never sends us an assertion. If your IdP intake form asks you to pick an application type, choose SAML 2.0.
SSO setup requires manager permissions on your team.
Prerequisites
Before you begin, make sure you have:- A Denada team with manager-level access
- Administrator access to your organization’s identity provider (IdP)
- Your IdP’s SAML metadata XML (provided by your IdP)
Step 1: Get Denada’s service provider details
When configuring your identity provider, you’ll need the following details about Denada:
Your IdP may also refer to the ACS URL as the “Reply URL” or “Single sign-on URL.”
Note that the Audience URI is
https://heydenada.com — the marketing site, not the app or cloud
hostname. It’s an identifier rather than an address, so it doesn’t need to be a URL anyone visits.
Step 2: Configure your identity provider
The exact steps vary depending on your IdP, but generally you’ll need to:- Create a new SAML application in your IdP.
- Enter the ACS URL and SP metadata URL from the table above.
- Set the NameID format to email address.
- Assign users or groups that should have access to Denada.
- Copy the IdP metadata XML — you’ll need this for the next step.
Okta
Okta
- In the Okta admin console, go to Applications > Applications > Create App Integration.
- Select SAML 2.0 and click Next.
- Enter “Denada” as the app name and click Next.
- Set the Single sign-on URL to
https://cloud.heydenada.com/api/saml/callback. - Set the Audience URI (SP Entity ID) to
https://heydenada.com. - Leave Default Relay State blank.
- Set Name ID format to EmailAddress and Application username to Email.
- Under Attribute Statements, add
email,firstName, andlastName(mapped touser.email,user.firstName, anduser.lastName). These are optional, but without them new accounts are created with no name. - Click Next, then Finish.
- Go to the Sign On tab and click View SAML setup instructions or Identity Provider metadata to copy the metadata XML.
Azure AD (Entra ID)
Azure AD (Entra ID)
- In the Azure portal, go to Enterprise Applications > New application > Create your own application.
- Name it “Denada”, select Integrate any other application, and click Create.
- Go to Single sign-on > SAML.
- Under Basic SAML Configuration, set the Reply URL (ACS) to
https://cloud.heydenada.com/api/saml/callback. - Set the Identifier (Entity ID) to
https://heydenada.com. - Under User Attributes & Claims, ensure the NameID is set to user.mail.
- Download the Federation Metadata XML from the SAML Signing Certificate section.
Google Workspace
Google Workspace
- In the Google Admin console, go to Apps > Web and mobile apps > Add app > Add custom SAML app.
- Name it “Denada” and click Continue.
- Copy the IdP metadata from the Google IdP information page (you’ll paste this into Denada).
- Set the ACS URL to
https://cloud.heydenada.com/api/saml/callback. - Set the Entity ID to
https://heydenada.com. - Set Name ID format to EMAIL.
- Click Finish, then turn the app ON for the relevant organizational units.
Step 3: Configure SSO in Denada
- Open Settings in the Denada app.
- Scroll to the Single sign-on section and click Setup SSO.
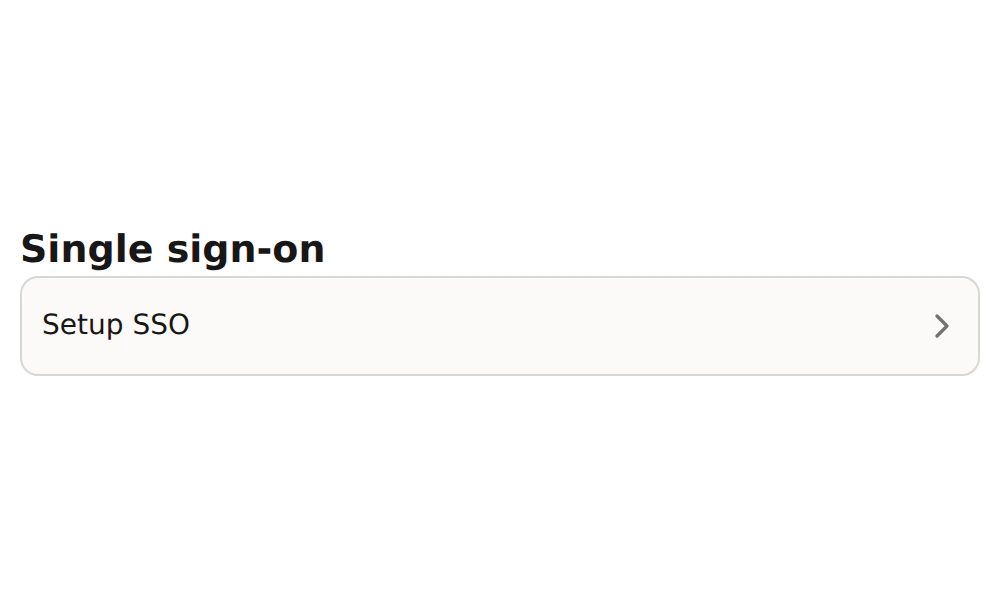
The SSO settings panel before configuration.
- Paste your IdP metadata XML into the IdP metadata field. Denada will validate the metadata and display the detected issuer.
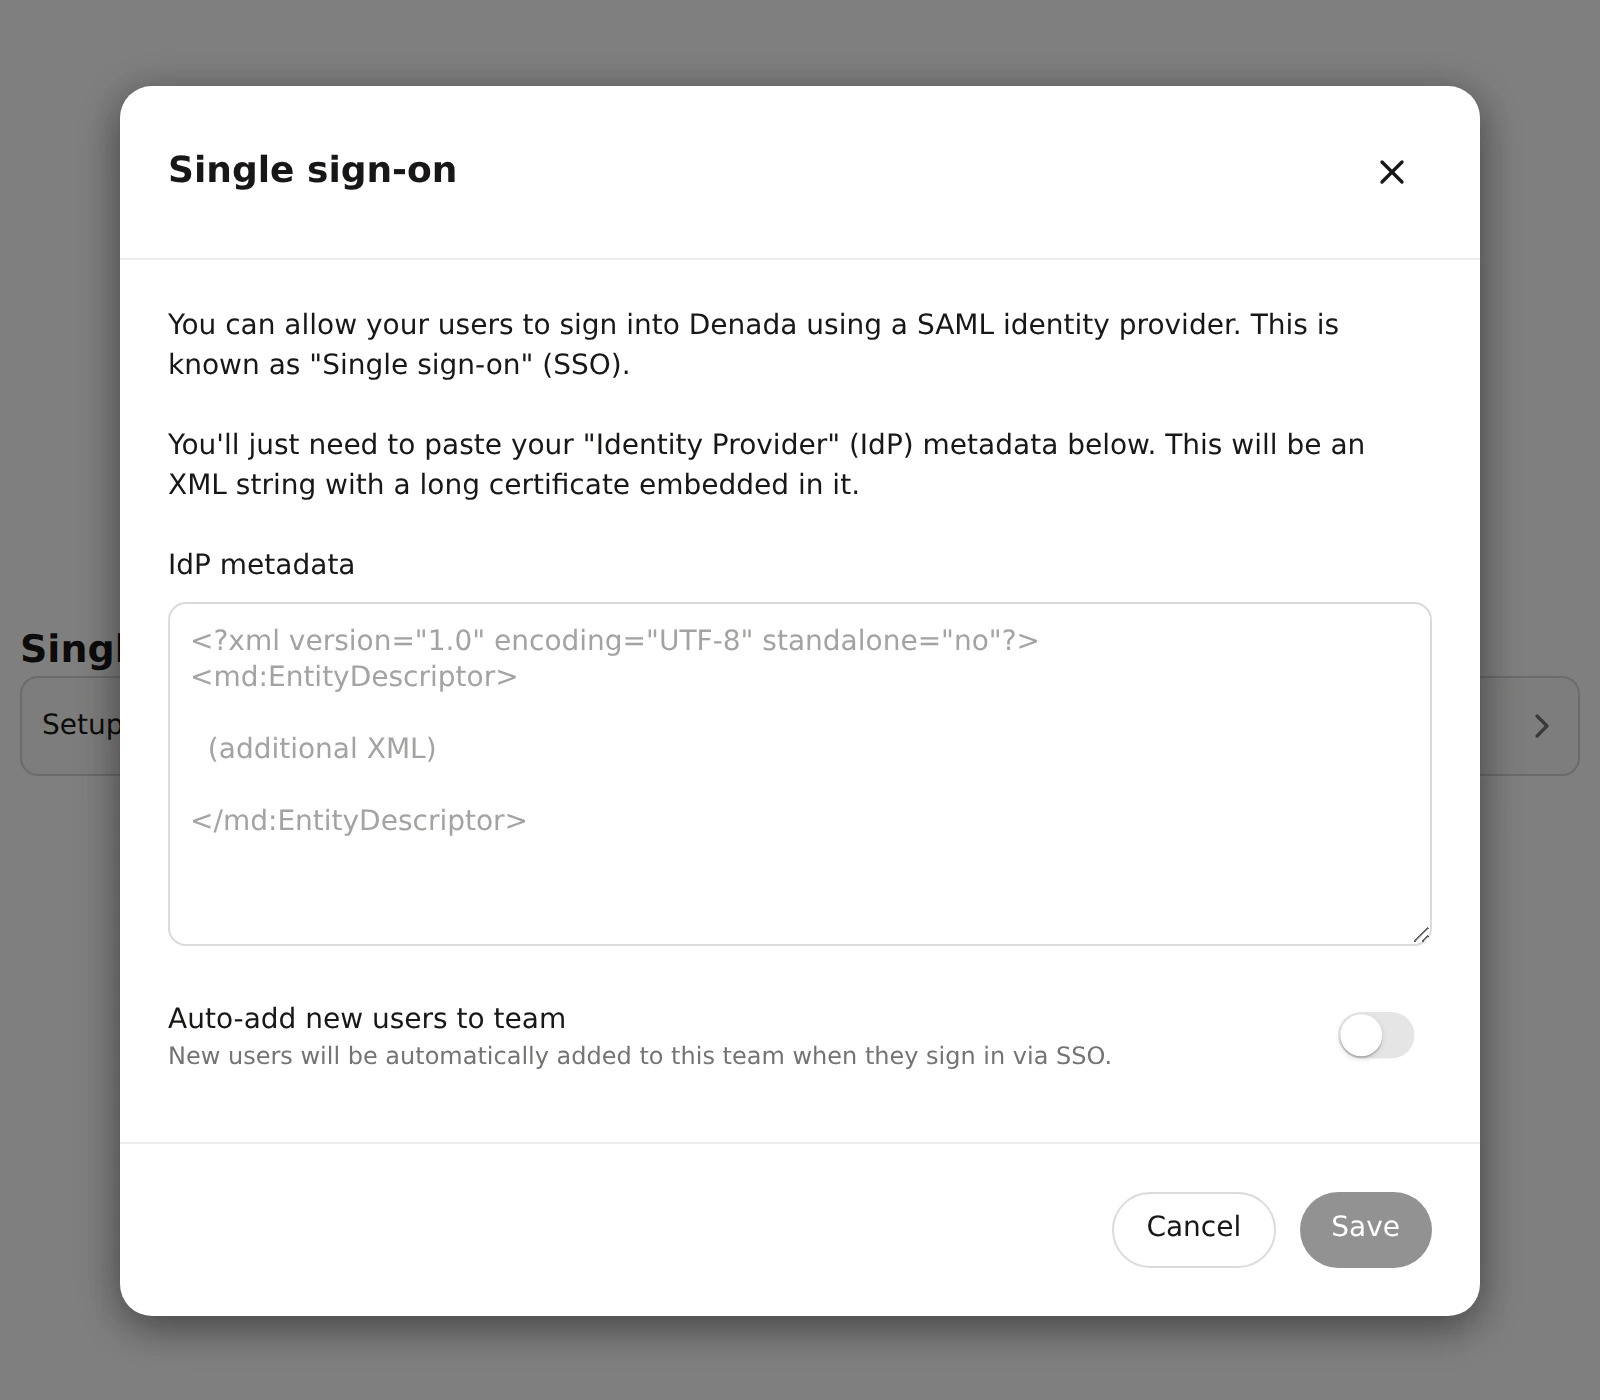
The SSO configuration dialog with IdP metadata.
- Optionally, enable Auto-add new users to team — when turned on, any user who signs in via SSO will automatically be added as a member of your team.
- Click Save.
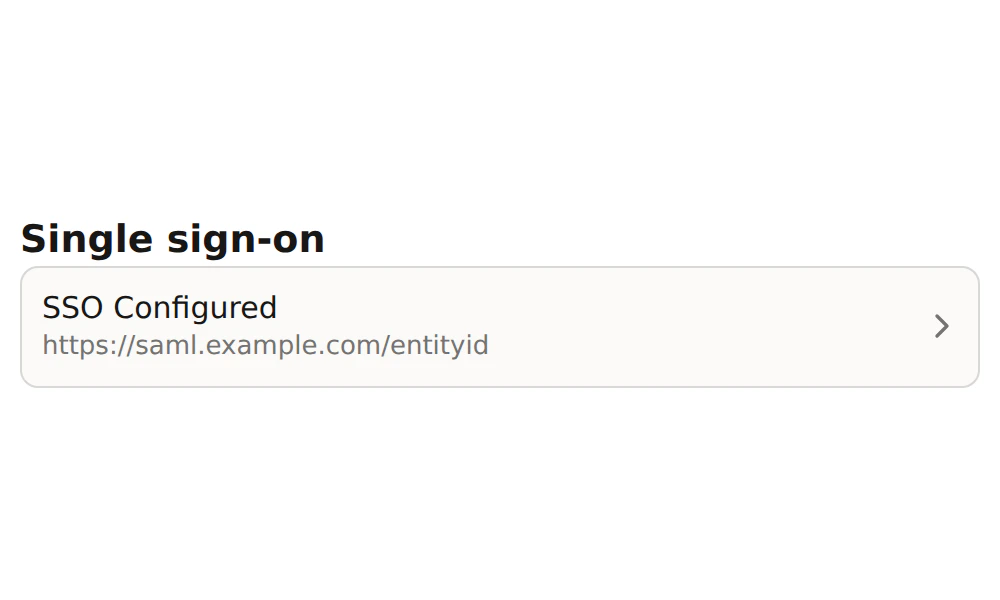
SSO successfully configured.
How SSO login works
SSO logins start at your identity provider, not at Denada. Users click the Denada tile on their IdP dashboard (their Okta or Azure “My Apps” home page), and:- The IdP authenticates them and posts a SAML response to Denada.
- Denada matches the assertion’s issuer to your team’s saved metadata and validates the signature.
- The user is identified by the
emailattribute, or by the NameID when it’s in email format. - Denada signs them in, creating an account if this is their first visit.
- If auto-add is enabled, new users are automatically added to your team.
There is no “Sign in with SSO” button on the Denada sign-in page — send your users to the tile on
their IdP dashboard instead. The one exception is a restricted share link: when someone opens a
restricted project belonging to an SSO-enabled team, that page does offer to sign them in through
your IdP.
Troubleshooting
'Invalid metadata' error when pasting XML
'Invalid metadata' error when pasting XML
Make sure you’re pasting the complete IdP metadata XML, starting with
<?xml and ending with </md:EntityDescriptor> or </EntityDescriptor>. Some IdPs provide a download link rather than displaying the XML directly — use that to get the full content.SSO configuration shows an error badge
SSO configuration shows an error badge
This typically means the metadata XML was saved but couldn’t be fully parsed. Click the SSO configuration to re-open the dialog, and re-paste the metadata from your IdP. Ensure there are no extra spaces or truncated content.
Users aren't being added to the team automatically
Users aren't being added to the team automatically
Verify that the Auto-add new users to team toggle is enabled in the SSO configuration dialog. Users who haven’t yet created a Denada account will receive an invitation when they first sign in via SSO.
Login fails with 'No email or nameID found in SAML profile'
Login fails with 'No email or nameID found in SAML profile'
Denada identifies users by email address. Set the NameID format to EmailAddress (so the NameID
is the user’s email), or add an
email attribute to the assertion. An assertion carrying only an
opaque or username-style NameID can’t be matched to an account.'No SSO config found for issuer' error
'No SSO config found for issuer' error
This means the issuer in the SAML response doesn’t match any configured SSO setup. Double-check that the Entity ID / Issuer in your IdP matches what Denada detected when you pasted the metadata.