

Project statuses are part of commenting and approvals, which are available on the Team plan.
Setting a project’s status
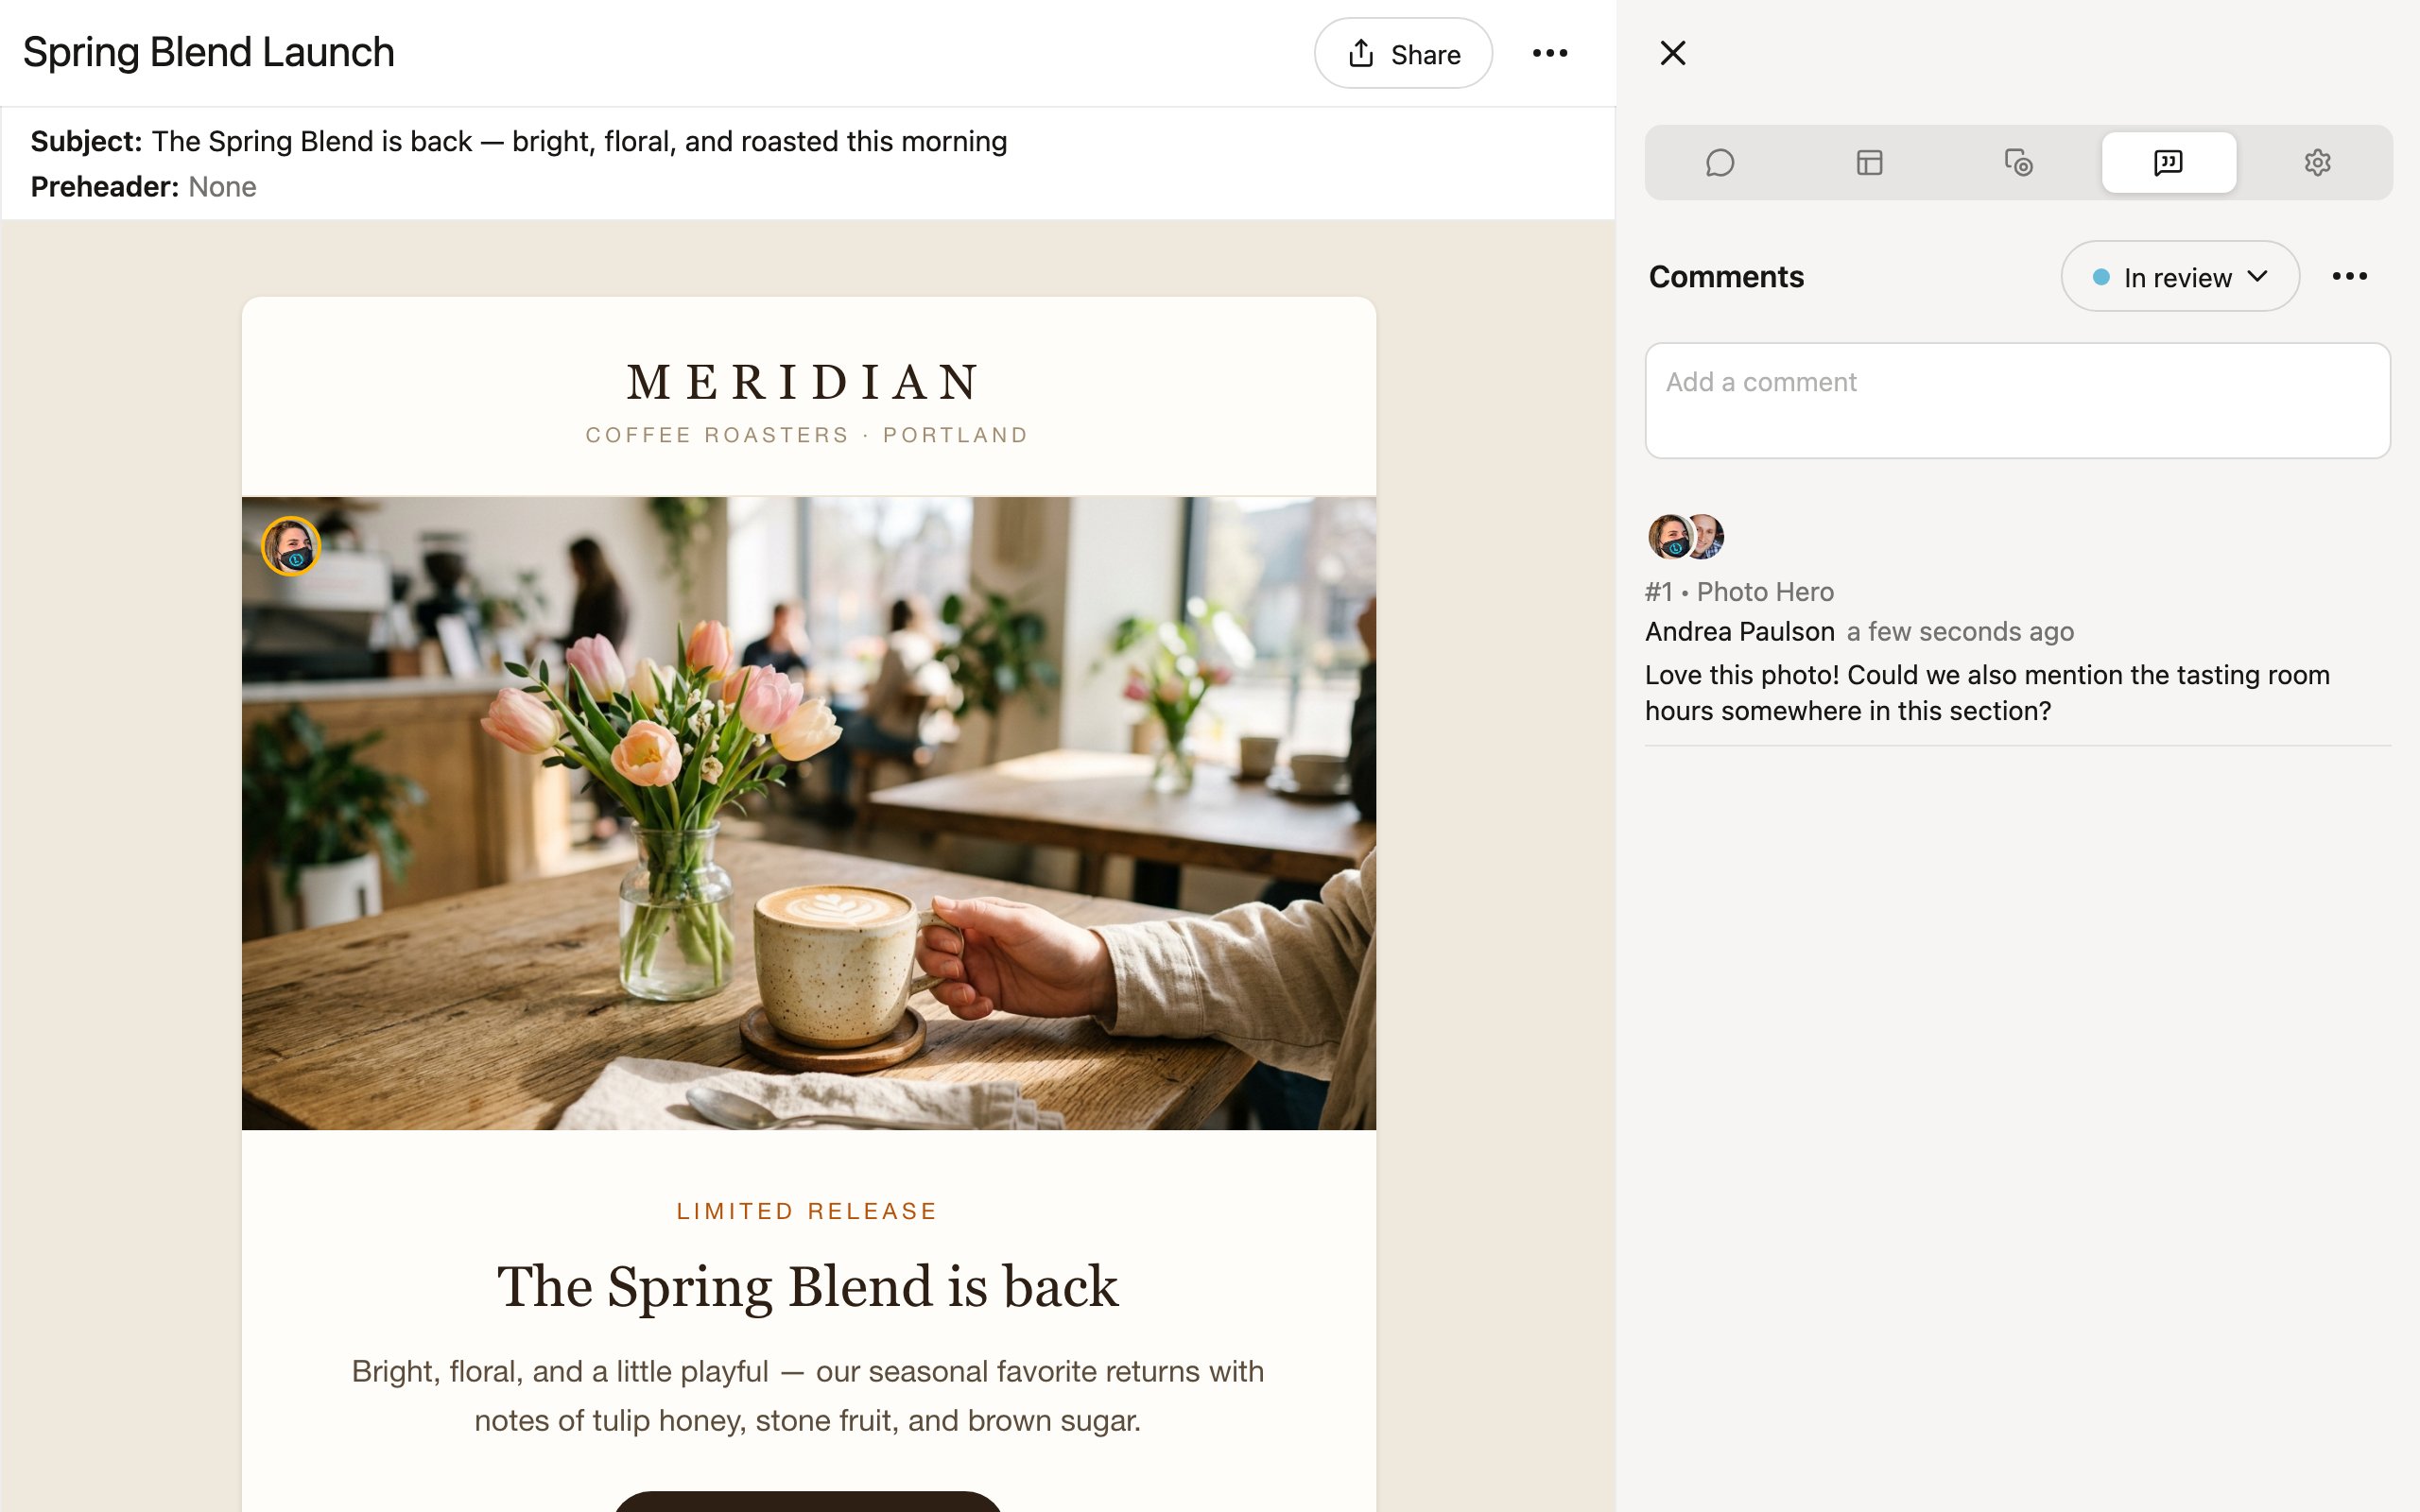
The status picker lives in the Comments tab of the editor sidebar, next to the Comments heading:- Open the project and switch to the Comments tab (Ctrl+4).
- Click the status button — it shows the current status, or Set status if there isn’t one yet.
- Pick a status from the menu, or No status to clear it.
Filtering projects by status
On the Projects page (with the Team filter selected), the Status button in the header filters the list to a single status. The filtered view shows every matching project across all of your folders in one flat list — handy for questions like “what’s still in review this week?” Choose Any status to return to normal browsing.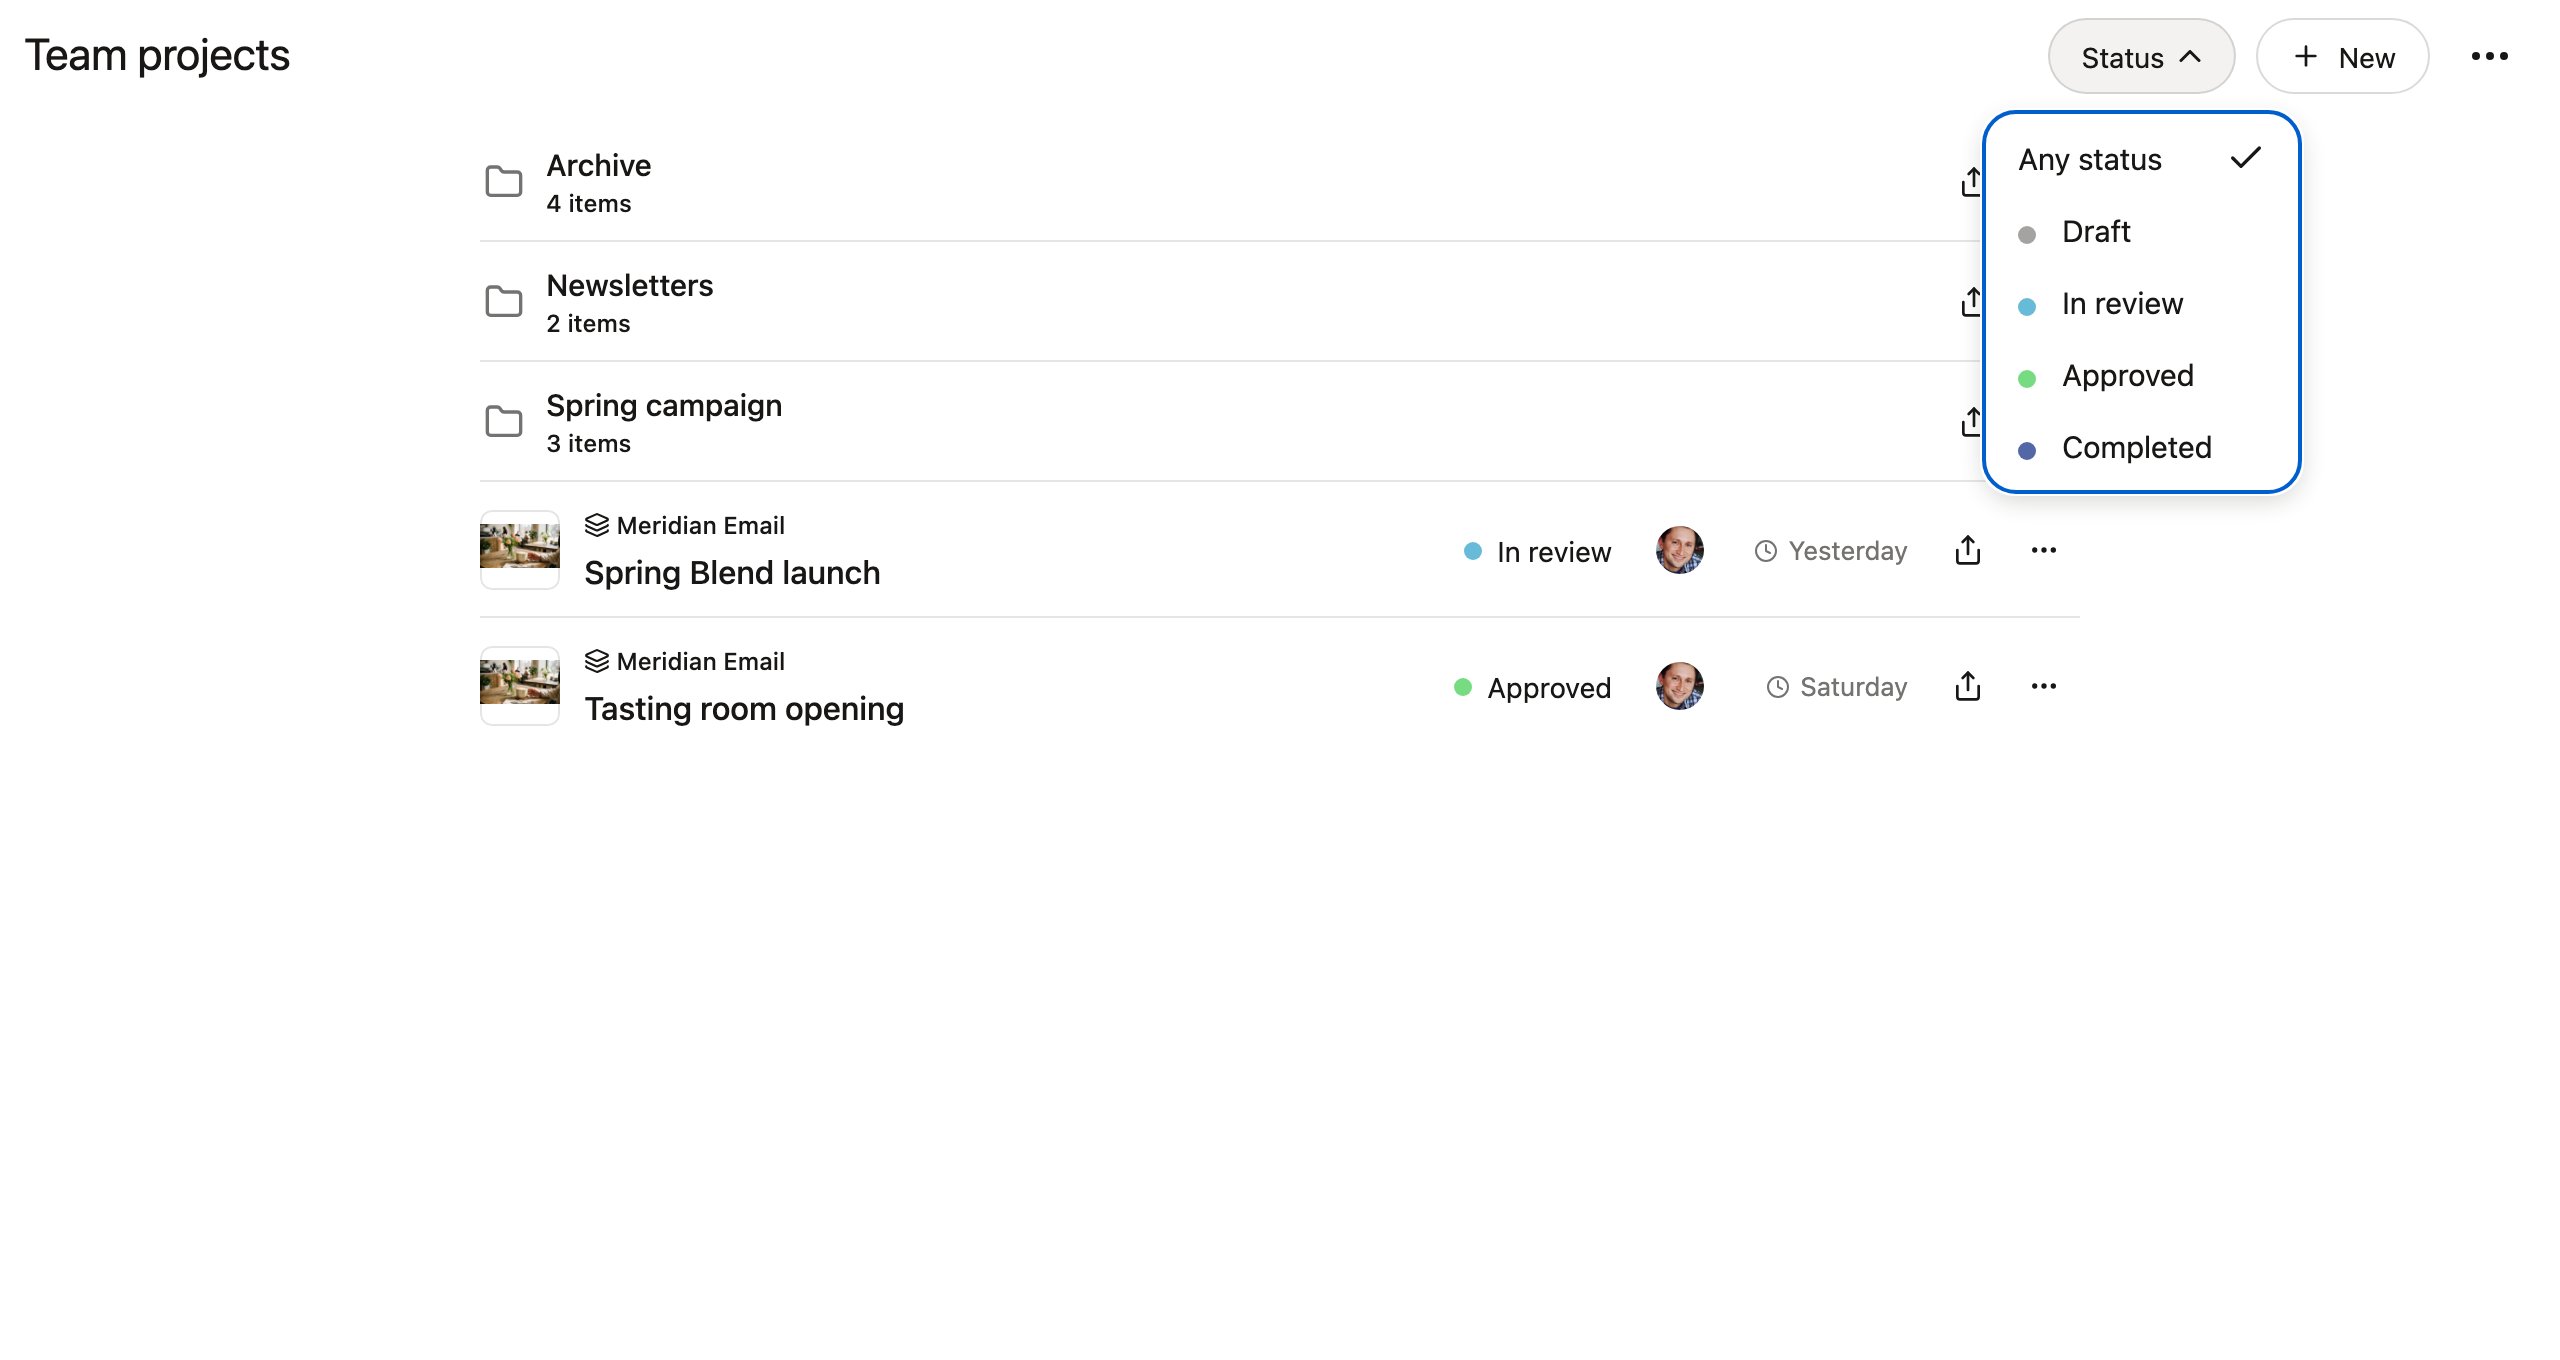
Customizing statuses
Statuses are defined per team. On the Settings page, managers and owners will find the Project statuses panel: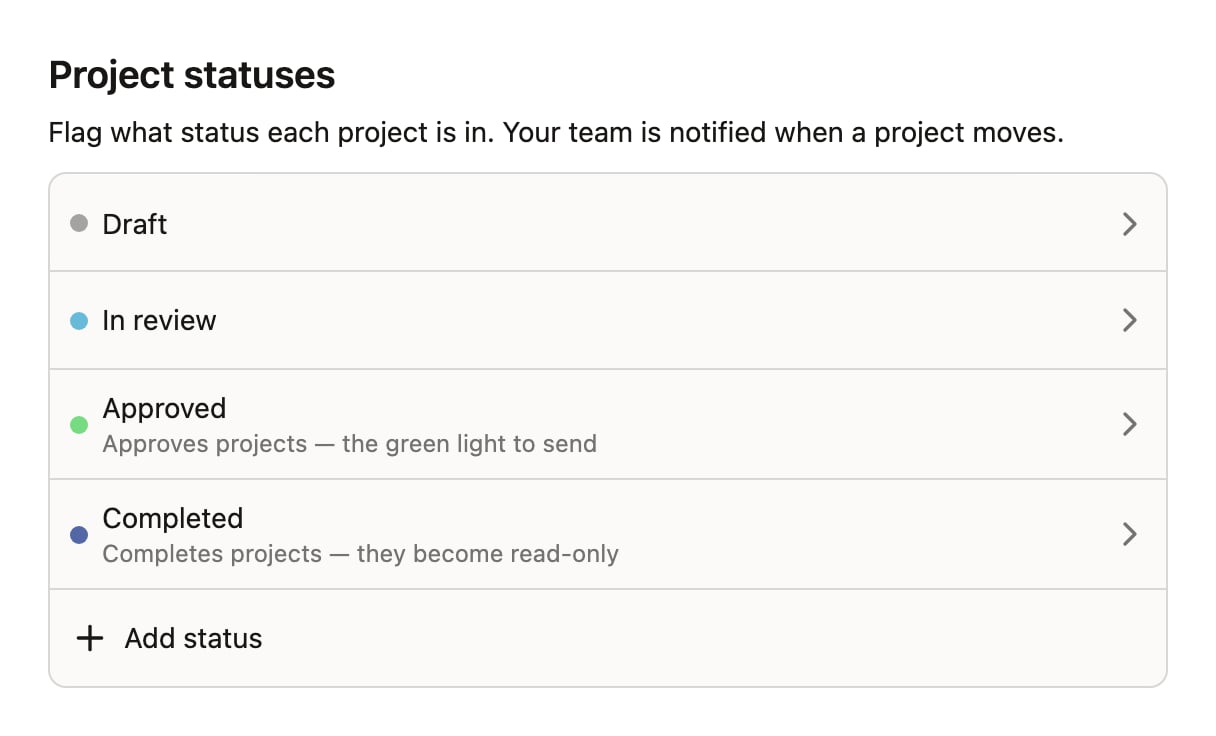
- Add status creates a new one — GoPro-style workflows like CRM build → In design → Stakeholder review → Completed are a few clicks away.
- Click a status to Rename it, change its color, reorder it with Move up / Move down, or Delete it.
Approved and completed
Two special markers give statuses meaning beyond their label. Each can be assigned to at most one status in the list:- Marks projects approved — the green light to send. This is a signal only: the project stays fully editable, so QA fixes after approval are no problem. The default Approved status carries this marker.
- Marks projects completed — the project is done. Moving a project into this status makes it read-only until it’s moved to another status (Denada asks you to confirm first). Nobody — including connected AI agents — can edit a completed project.
Who gets notified
When someone moves a project to a new status, Denada notifies the people following that project through the notifications bell:- The project’s owner — always, unless they’ve changed their notification level for the project.
- Anyone whose notification level for the project is “Everything” — set it from the ⋯ menu in the Comments tab. People who have posted a couple of comments on a project are treated as following it and get these too.