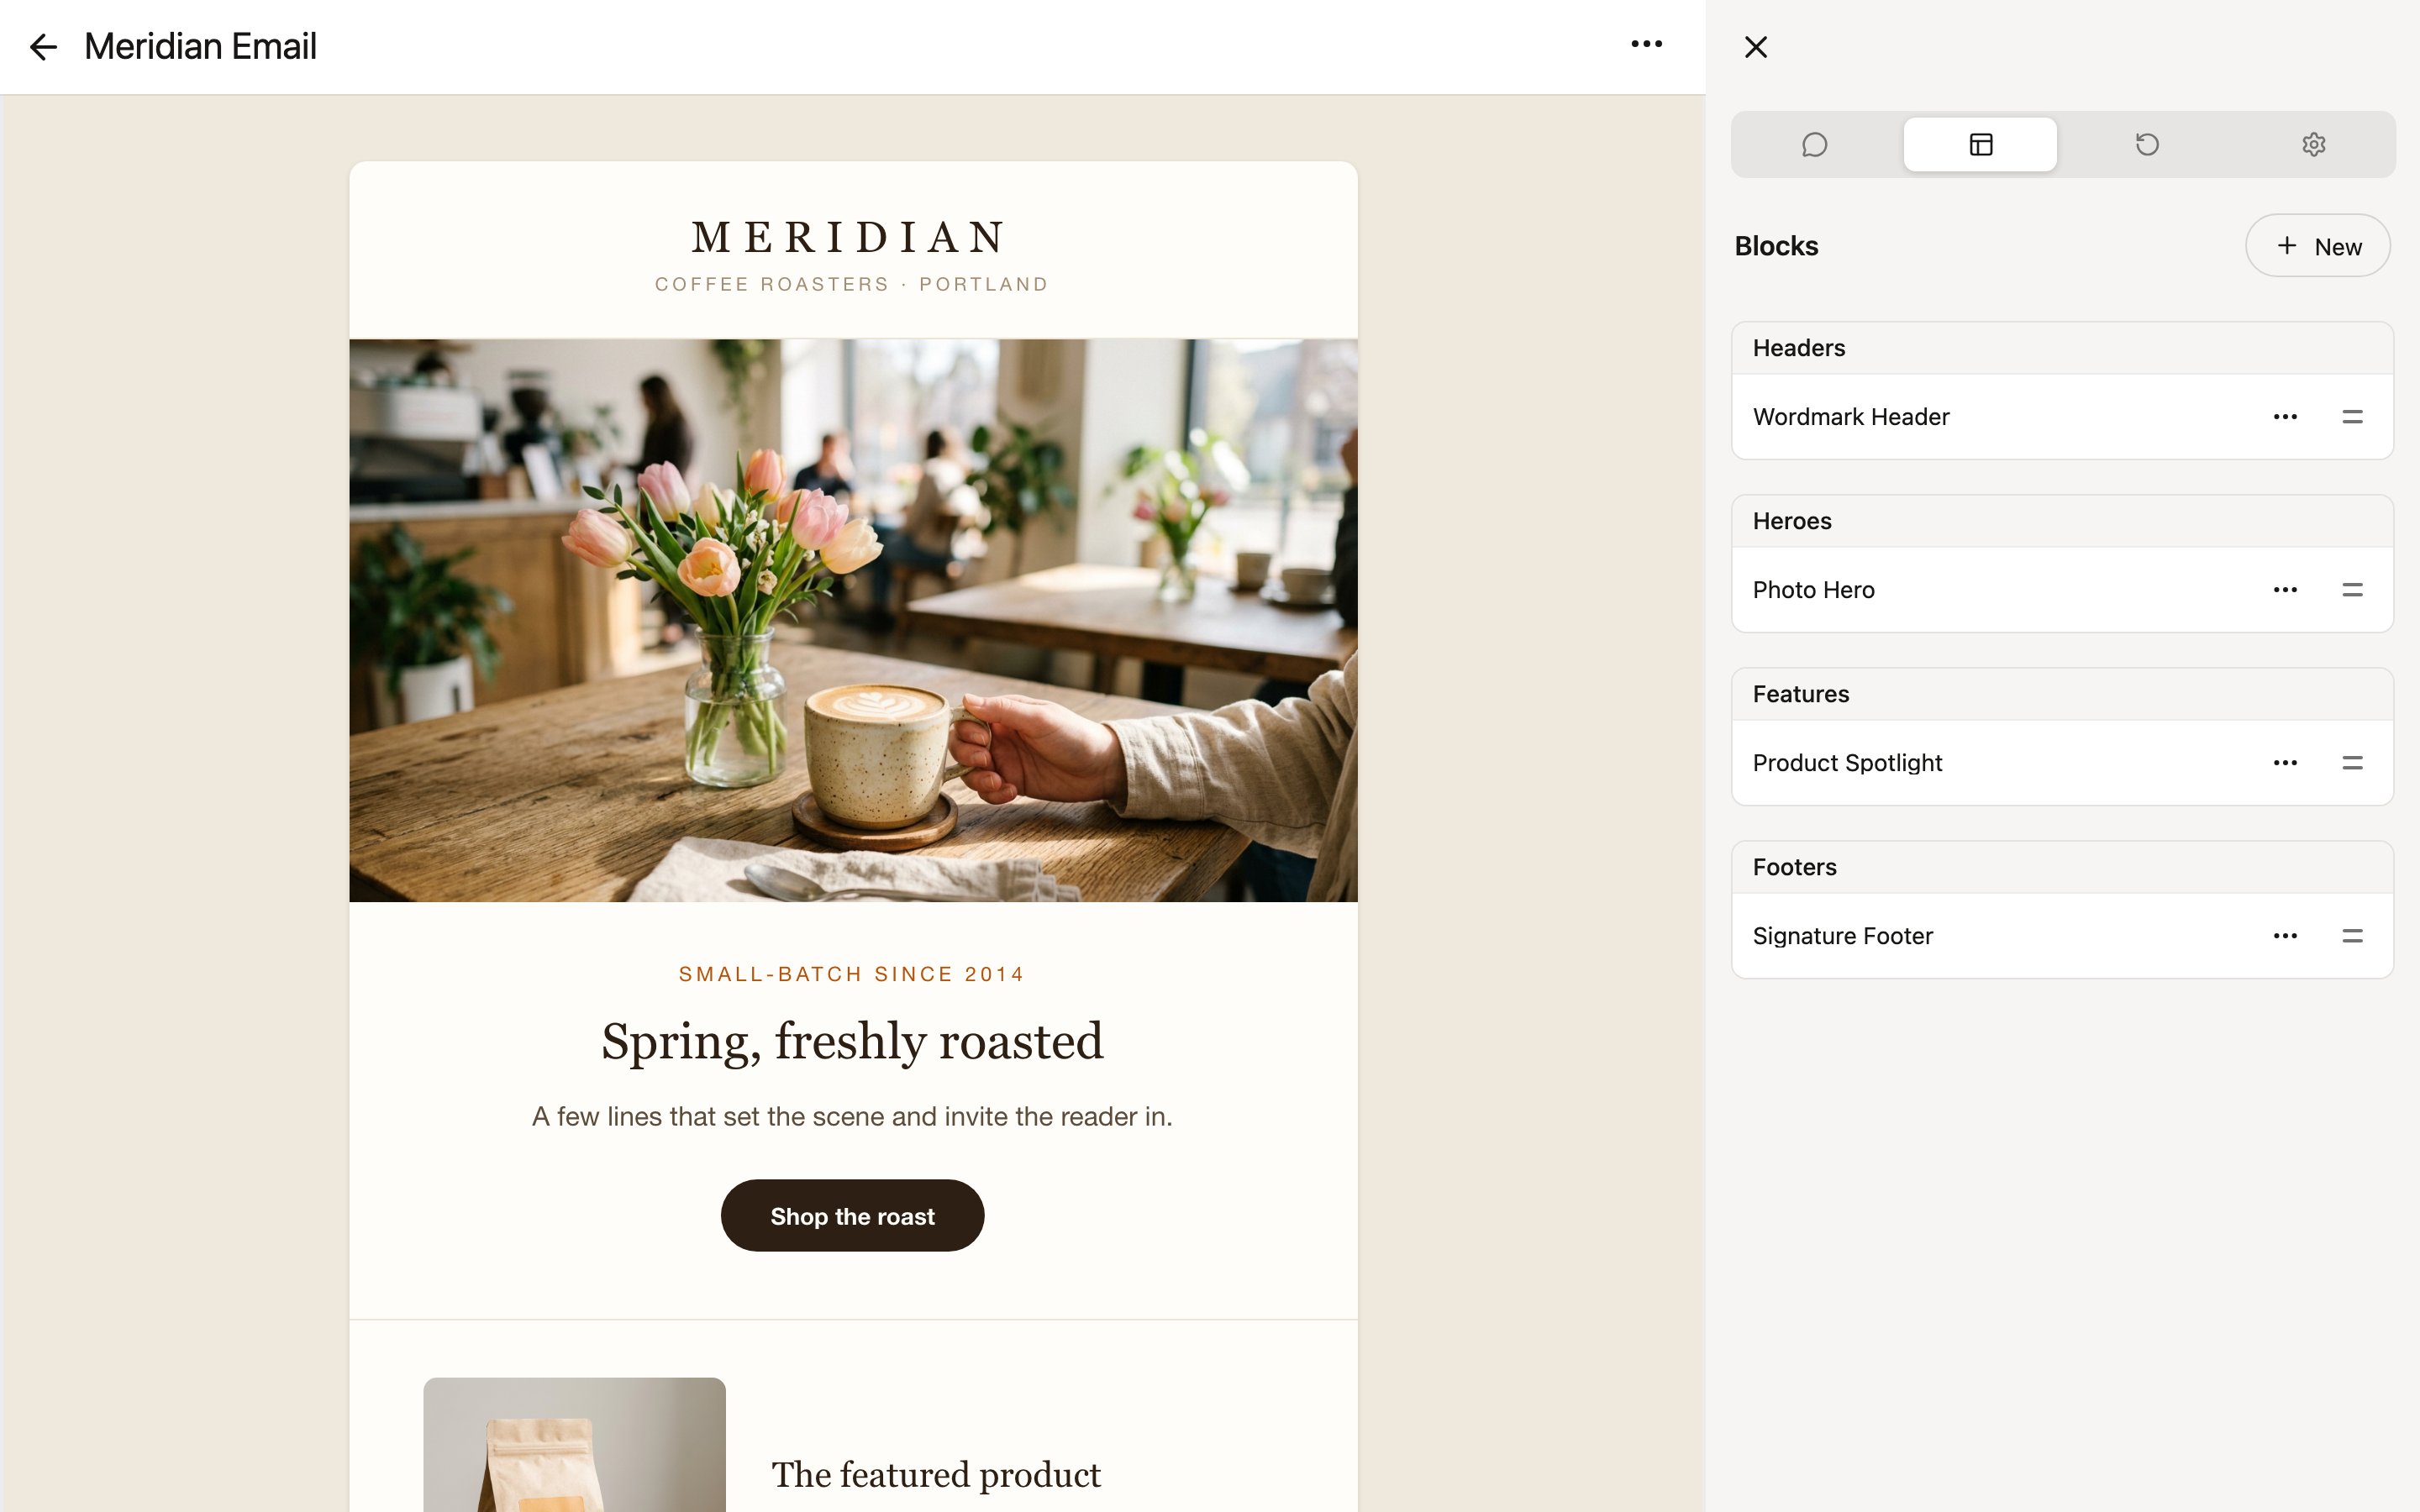
Edit blocks, parameters, the shell, versions, and publishing from the library editor
The library editor is where a library’s blocks, parameters, and settings are built and maintained. Open it by clicking Libraries in the sidebar, then clicking any library.The editor has two parts: a preview of the library’s blocks rendered with their example values, and a sidebar with four tabs — Chat, Edit, Versions, and Options.
Click any block in the preview to jump straight to it in the sidebar. If the selection overlays get in your way, open the library menu and turn on Disable overlays to click elements in the rendered preview directly.
The Chat tab works like project chat, but for the library itself: describe blocks you want, ask Denada to restyle existing ones, or have it define parameters — and it edits the library directly. You can keep multiple chats, including private chats only you can see.The chat list also offers Edit with external tools, which walks you through connecting an AI agent like Claude Code or Codex to work on the library from outside Denada. See Working with AI agents.
Below the block’s settings is its parameter list. Click New parameter… to add one, or click an existing parameter to edit its type, default value, and instructions. Parameters can be of type Text, Link, Image, Boolean, Enum, Color, Insets, or List (a repeating group of content within a block) — see the libraries overview for what each is for.
Checkpoint versions are created automatically after 30 minutes of inactivity.
Click Save current version to record a named version at a meaningful milestone.
Changes committed by connected AI agents appear here too, with the message the agent supplied.
Each version’s menu lets you Rename version, Restore this version, create a New library from this version, or Set as current version. Setting a current version marks a stable release: projects that adopt the library use that version instead of the latest draft.Selecting a version shows the library as it was at that point, so you can review before restoring.
Published — makes the library available to Denada and your team for building projects.
Type — Email or Site (landing pages).
Scripting language — enables dynamic content for personalization, wrapped in this syntax on export: Liquid (Braze, Mailchimp, Shopify) or Django (Klaviyo). Leave it on None to disable dynamic content for this library.
Thumbnail — an optional image that replaces the full library rendering in tiles.
Shell HTML — opens the editor for the library’s shell (see below).
Chat instructions — guidance for Denada on how to use the library as a whole. For example, you might explain to include one header block, up to five body blocks, then a standard footer.
Theme — the library-level parameters, shared by every block.
The shell is the outer HTML document that wraps the assembled blocks in every rendered project: the <head>, font loading (hosted fonts give you permanent @font-face URLs), CSS resets, and page frame. Edit it from Options → Shell HTML. Parameters you define at the shell level appear in the Theme panel and are available to every block — ideal for shared values like a brand color.
The library — the Published toggle in Options controls whether the library is available at all.
Individual blocks — each block’s Published toggle controls whether that block is offered when building projects. You can also publish or unpublish a block directly from its tile in the block list.
Every change in the library editor is undoable. Use the library menu’s undo and redo items, or press Cmd+Z and Shift+Cmd+Z (Ctrl+Z / Ctrl+Y on Windows).