> ## Documentation Index
> Fetch the complete documentation index at: https://help.heydenada.com/llms.txt
> Use this file to discover all available pages before exploring further.
# Single sign-on (SSO)
> Set up SAML-based single sign-on for your team
Denada supports SAML-based single sign-on (SSO), allowing your team members to sign in using your organization's identity provider (IdP) such as Okta, Azure AD, Google Workspace, or OneLogin.
SSO setup requires **manager** permissions on your team.
## Prerequisites
Before you begin, make sure you have:
* A Denada team with manager-level access
* Administrator access to your organization's identity provider (IdP)
* Your IdP's SAML metadata XML (provided by your IdP)
## Step 1: Get Denada's service provider details
When configuring your identity provider, you'll need the following details about Denada:
| Field | Value |
| ---------------------------------------- | -------------------------------------------------------- |
| **ACS (Assertion Consumer Service) URL** | `https://cloud.heydenada.com/api/saml/callback` |
| **SP metadata URL** | `https://cloud.heydenada.com/api/saml/metadata` |
| **NameID format** | `urn:oasis:names:tc:SAML:1.1:nameid-format:emailAddress` |
Your IdP may also refer to the ACS URL as the "Reply URL" or "Single sign-on URL."
Most identity providers allow you to import settings automatically from a metadata URL. Try pasting the **SP metadata URL** above into your IdP's configuration to auto-populate the required fields.
## Step 2: Configure your identity provider
The exact steps vary depending on your IdP, but generally you'll need to:
1. Create a new SAML application in your IdP.
2. Enter the **ACS URL** and **SP metadata URL** from the table above.
3. Set the **NameID format** to email address.
4. Assign users or groups that should have access to Denada.
5. Copy the **IdP metadata XML** — you'll need this for the next step.
1) In the Okta admin console, go to **Applications > Applications > Create App Integration**.
2) Select **SAML 2.0** and click **Next**.
3) Enter "Denada" as the app name and click **Next**.
4) Set the **Single sign-on URL** to `https://cloud.heydenada.com/api/saml/callback`.
5) Set the **Audience URI (SP Entity ID)** to the value from your SP metadata.
6) Set **Name ID format** to **EmailAddress**.
7) Click **Next**, then **Finish**.
8) Go to the **Sign On** tab and click **View SAML setup instructions** or **Identity Provider metadata** to copy the metadata XML.
1. In the Azure portal, go to **Enterprise Applications > New application > Create your own application**.
2. Name it "Denada", select **Integrate any other application**, and click **Create**.
3. Go to **Single sign-on > SAML**.
4. Under **Basic SAML Configuration**, set the **Reply URL (ACS)** to `https://cloud.heydenada.com/api/saml/callback`.
5. Set the **Identifier (Entity ID)** to the value from your SP metadata.
6. Under **User Attributes & Claims**, ensure the **NameID** is set to **user.mail**.
7. Download the **Federation Metadata XML** from the **SAML Signing Certificate** section.
1. In the Google Admin console, go to **Apps > Web and mobile apps > Add app > Add custom SAML app**.
2. Name it "Denada" and click **Continue**.
3. Copy the **IdP metadata** from the Google IdP information page (you'll paste this into Denada).
4. Set the **ACS URL** to `https://cloud.heydenada.com/api/saml/callback`.
5. Set the **Entity ID** to the value from your SP metadata.
6. Set **Name ID format** to **EMAIL**.
7. Click **Finish**, then turn the app **ON** for the relevant organizational units.
## Step 3: Configure SSO in Denada
1. Open **Settings** in the Denada app.
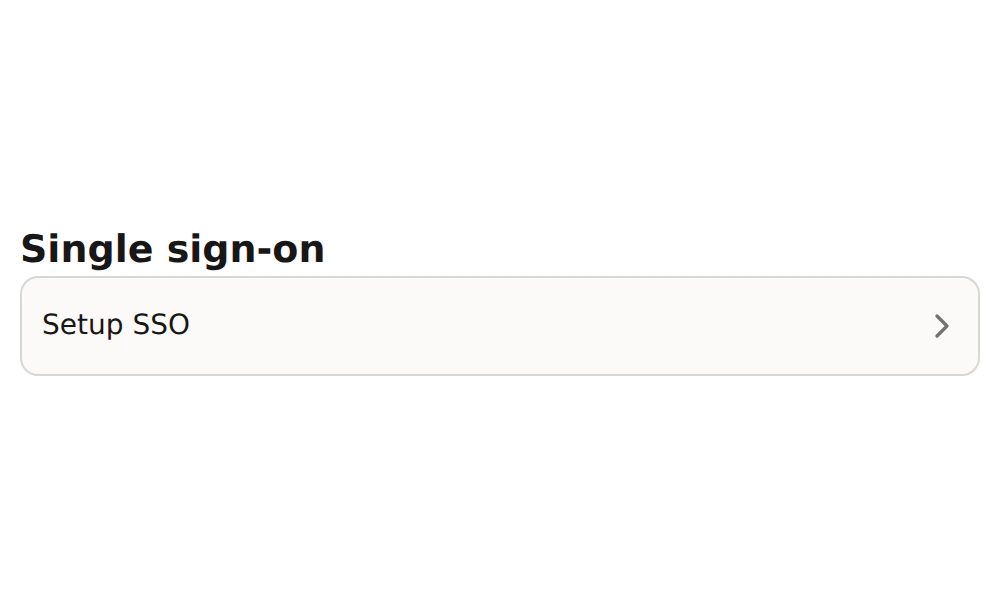
2. Scroll to the **Single sign-on** section and click **Setup SSO**.
 3. Paste your IdP metadata XML into the **IdP metadata** field. Denada will validate the metadata and display the detected issuer.
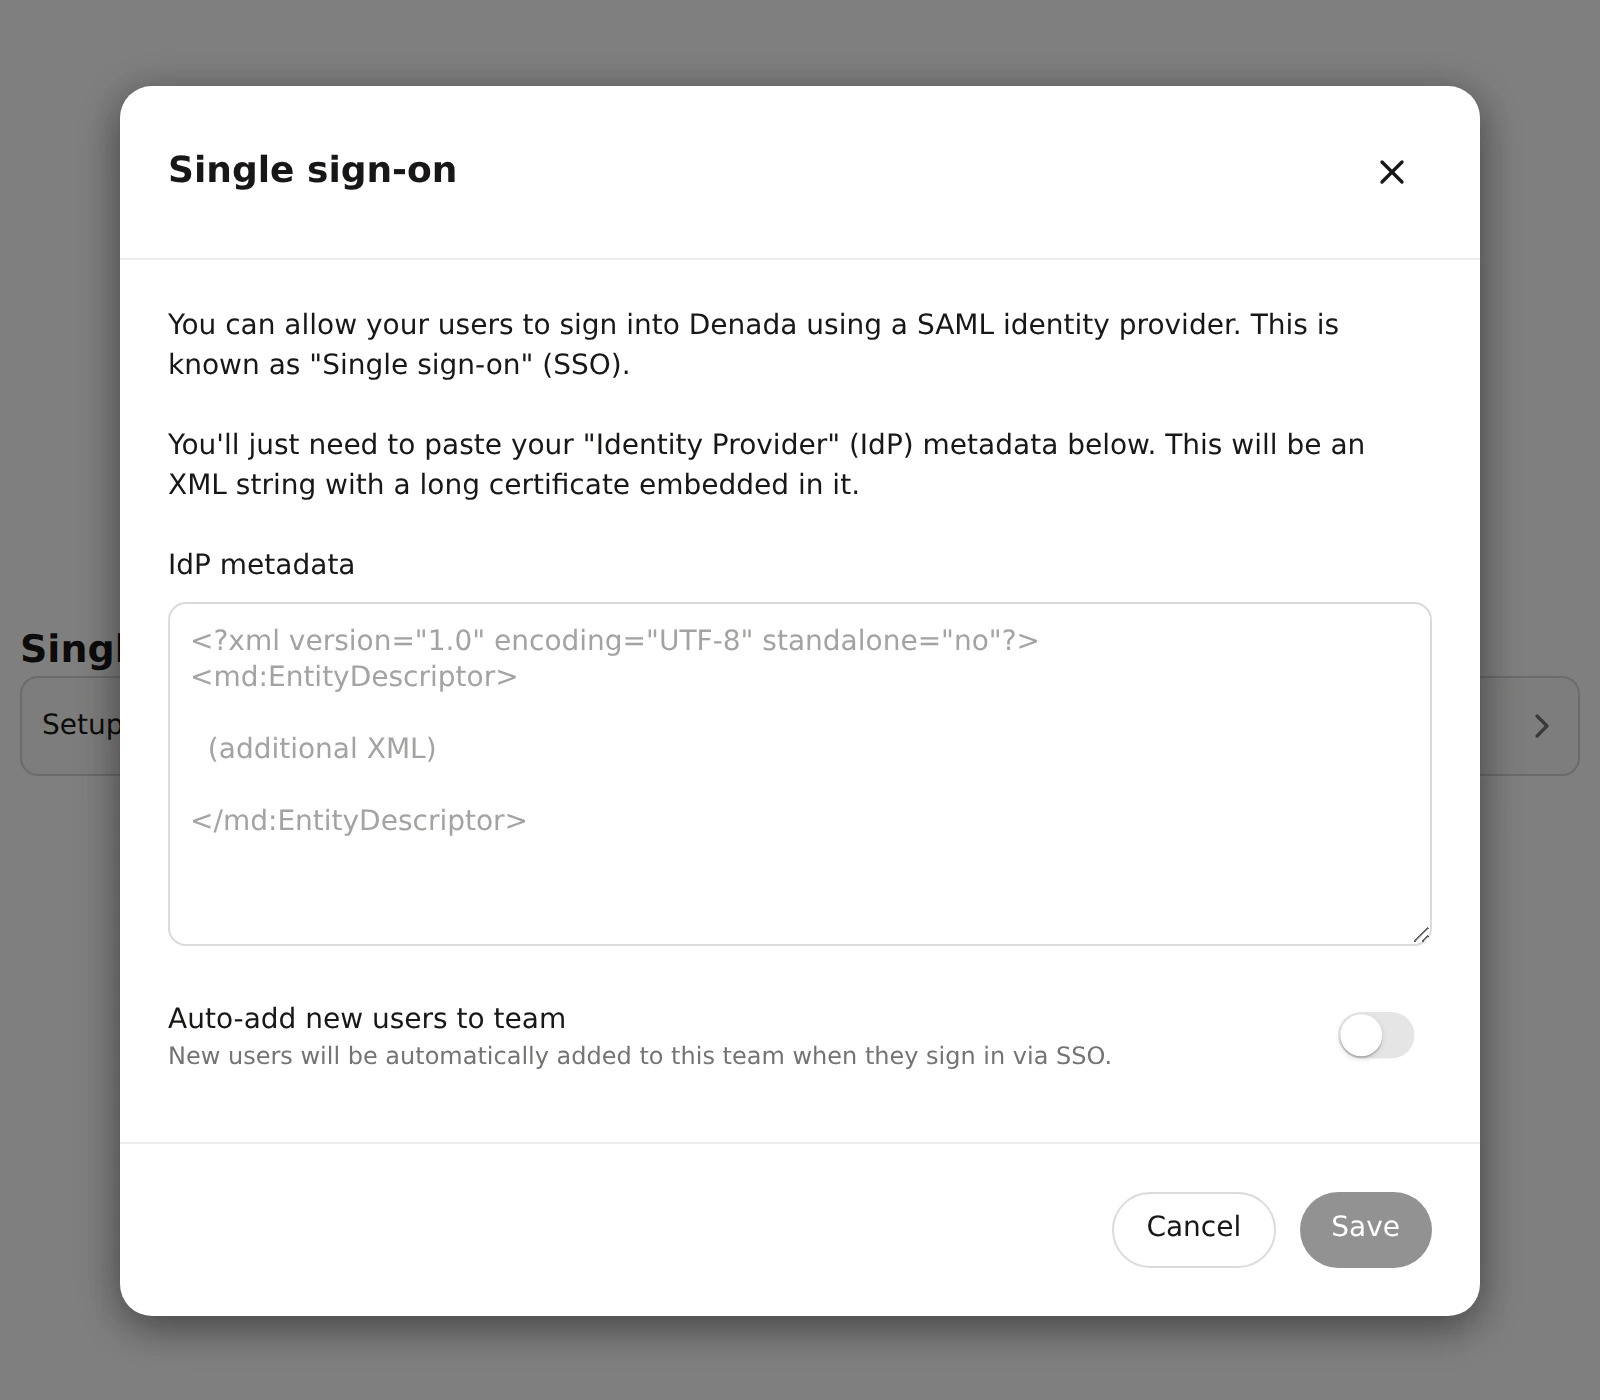 4. Optionally, enable **Auto-add new users to team** — when turned on, any user who signs in via SSO will automatically be added as a member of your team.
5. Click **Save**.
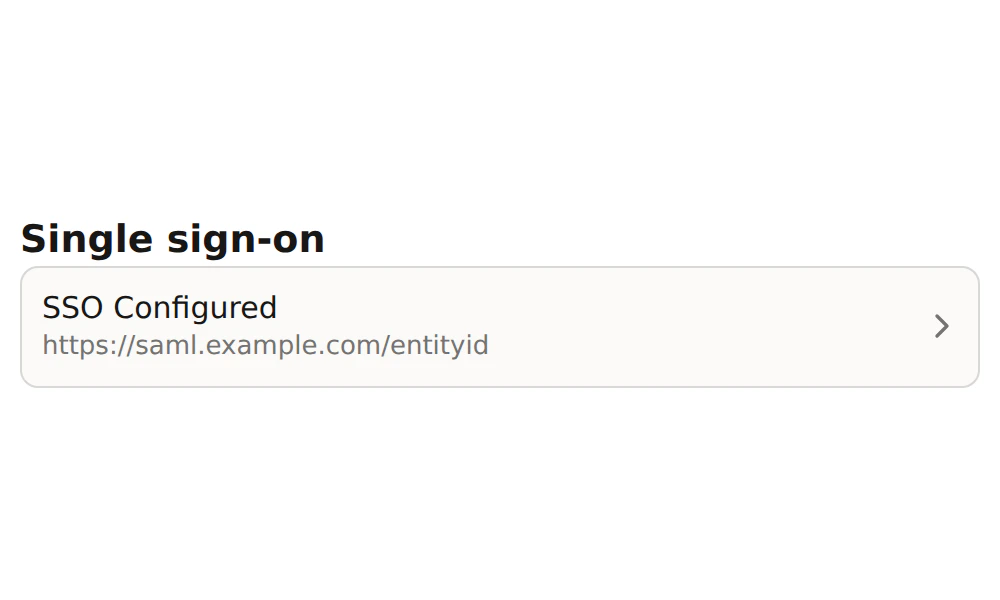
Once saved, your team members can sign in using your identity provider. The **Single sign-on** panel will show **SSO Configured** along with the detected issuer.
4. Optionally, enable **Auto-add new users to team** — when turned on, any user who signs in via SSO will automatically be added as a member of your team.
5. Click **Save**.
Once saved, your team members can sign in using your identity provider. The **Single sign-on** panel will show **SSO Configured** along with the detected issuer.
 ## How SSO login works
When a user signs in via SSO:
1. They are redirected to your identity provider to authenticate.
2. After successful authentication, the IdP sends a SAML response back to Denada.
3. Denada validates the response and signs the user in (or creates a new account if needed).
4. If **auto-add** is enabled, new users are automatically added to your team.
## Troubleshooting
Make sure you're pasting the complete IdP metadata XML, starting with `` or ``. Some IdPs provide a download link rather than displaying the XML directly — use that to get the full content.
This typically means the metadata XML was saved but couldn't be fully parsed. Click the SSO configuration to re-open the dialog, and re-paste the metadata from your IdP. Ensure there are no extra spaces or truncated content.
Verify that the **Auto-add new users to team** toggle is enabled in the SSO configuration dialog. Users who haven't yet created a Denada account will receive an invitation when they first sign in via SSO.
This means the issuer in the SAML response doesn't match any configured SSO setup. Double-check that the Entity ID / Issuer in your IdP matches what Denada detected when you pasted the metadata.
## Need help?
If you run into issues setting up SSO, reach out to [support@heydenada.com](mailto:support@heydenada.com) or ask in our [Community Slack](https://join.slack.com/t/denadacommunity/shared_invite/zt-33ermqnvl-kU9677V0eloK5Jf2SSNO5g).
## How SSO login works
When a user signs in via SSO:
1. They are redirected to your identity provider to authenticate.
2. After successful authentication, the IdP sends a SAML response back to Denada.
3. Denada validates the response and signs the user in (or creates a new account if needed).
4. If **auto-add** is enabled, new users are automatically added to your team.
## Troubleshooting
Make sure you're pasting the complete IdP metadata XML, starting with `` or ``. Some IdPs provide a download link rather than displaying the XML directly — use that to get the full content.
This typically means the metadata XML was saved but couldn't be fully parsed. Click the SSO configuration to re-open the dialog, and re-paste the metadata from your IdP. Ensure there are no extra spaces or truncated content.
Verify that the **Auto-add new users to team** toggle is enabled in the SSO configuration dialog. Users who haven't yet created a Denada account will receive an invitation when they first sign in via SSO.
This means the issuer in the SAML response doesn't match any configured SSO setup. Double-check that the Entity ID / Issuer in your IdP matches what Denada detected when you pasted the metadata.
## Need help?
If you run into issues setting up SSO, reach out to [support@heydenada.com](mailto:support@heydenada.com) or ask in our [Community Slack](https://join.slack.com/t/denadacommunity/shared_invite/zt-33ermqnvl-kU9677V0eloK5Jf2SSNO5g).