> ## Documentation Index
> Fetch the complete documentation index at: https://help.heydenada.com/llms.txt
> Use this file to discover all available pages before exploring further.
# Folders
> Organize your projects and canvases into folders
As your team creates more projects and canvases, folders help you keep everything organized and easy to find. Folders live in your team projects view, and you can arrange your work however makes sense for your team.
Folders are available on the Team plan, along with the **Mine**, **Team**, and **Private** filters in the sidebar.
## Creating a folder
1. In your team projects view, click **New** and choose **New folder**.
2. Give your folder a name (for example, "Q2 campaigns" or "Newsletter drafts").
3. The folder appears alongside your projects, ready to use.
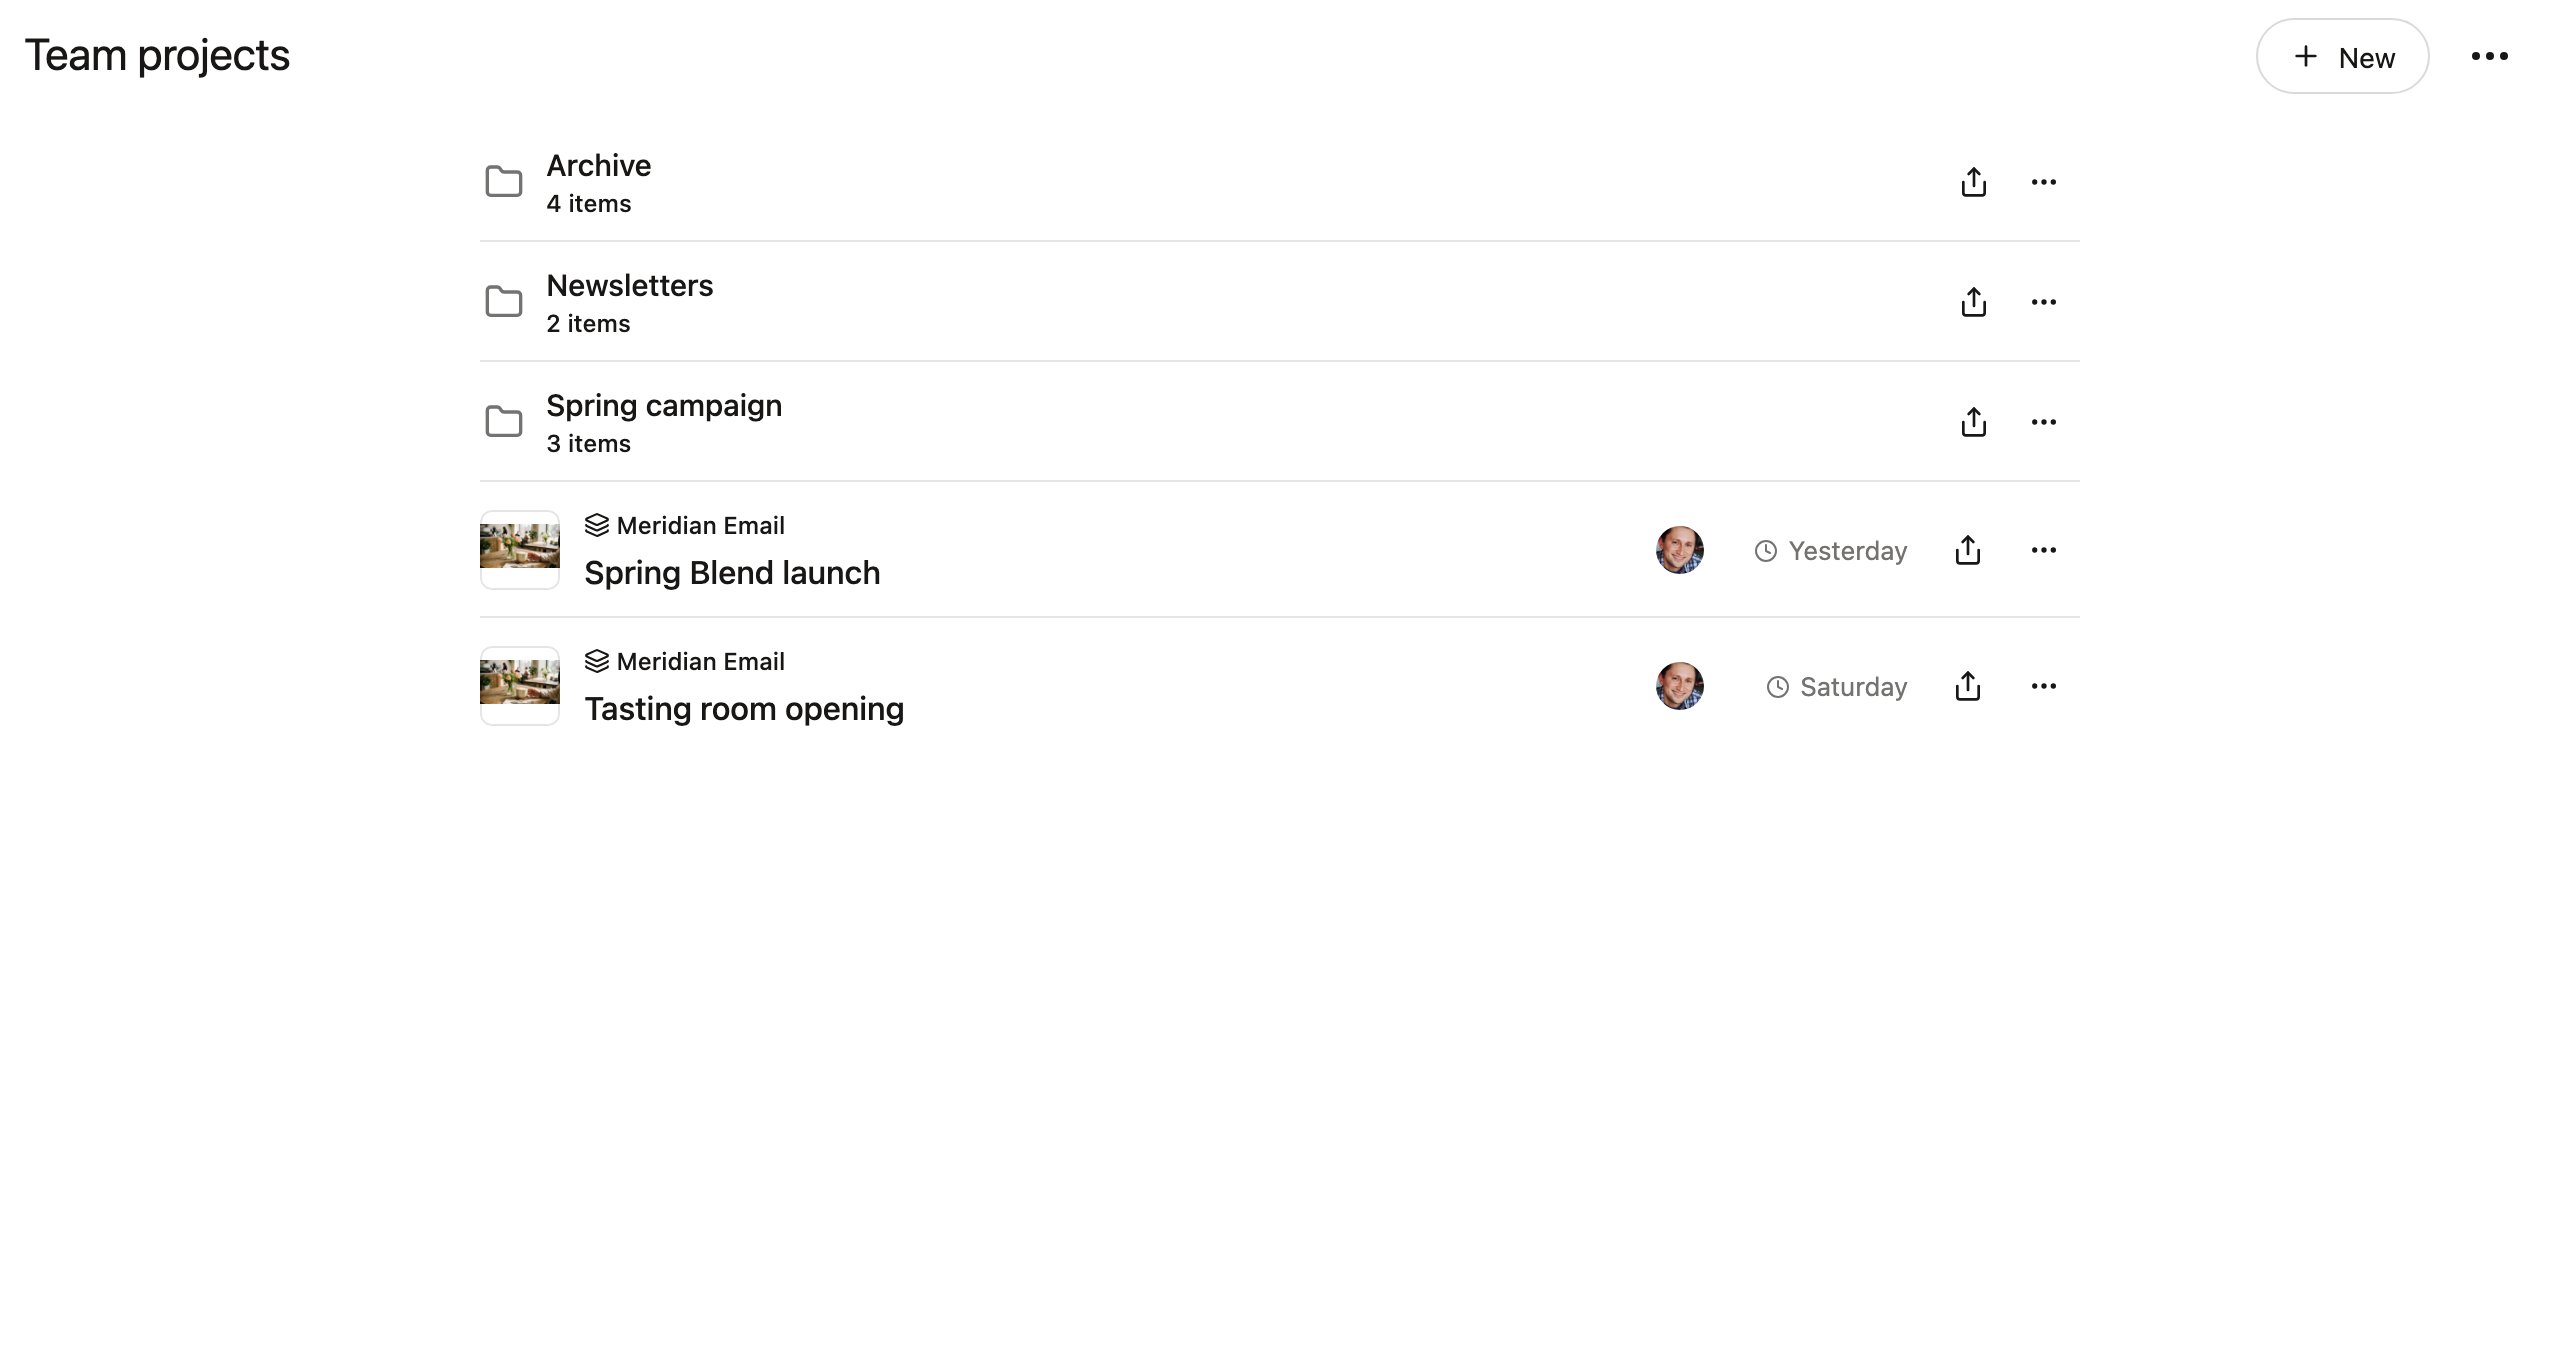 ## Moving items into folders
You can move projects and canvases into any folder:
* **Drag and drop** — drag an item onto a folder to move it there.
* **Move dialog** — select one or more items (choose **Select items** from the options menu, or use the item's own menu), then choose **Move** and pick a destination in the **Move to folder** dialog.
Items can live at the top level (outside any folder) or inside a folder. Move them around as your workflow evolves.
## Sorting
Use the options menu to sort the current view by **Date** (recently created first) or **Name** (alphabetical). Breadcrumbs at the top of the view show where you are and let you jump back up the folder tree.
## Nested folders
Folders can contain other folders, giving you as much depth as you need. For example:
```
Q2 campaigns/
Newsletter/
April newsletter
May newsletter
Promotions/
Spring sale email
Loyalty program email
```
Drag a folder into another folder to nest it, or create a new folder while browsing inside an existing one.
## Filtering with Mine, Team, and Private
Under **Projects** in the sidebar, three filters help you focus:
* **Mine** — projects you created.
* **Team** — everything shared with the team, including the folder tree.
* **Private** — your private projects, hidden from teammates.
## Sharing folders with public links
You can share an entire folder with people outside your team using a public link. Click the share button on the folder's row and toggle on **Publish to web** — then **Copy link** to send it to reviewers. Anyone with the link can browse the folder and view the published projects inside, no Denada account needed.
See [publishing to the web](/exporting/publish-to-web) for details, including the note that individual projects must also be published to be visible.
Shared folder links are a convenient way to send a batch of projects for review — for example, sharing all the emails for an upcoming campaign with a client in a single link.
## Best practices
* **Organize by campaign.** One folder per campaign keeps related projects and canvases together.
* **Archive old work.** Create an "Archive" folder to move completed campaigns out of the way without deleting them.
* **Use clear names.** Descriptive folder names save time when you or a teammate are looking for something later.
* **Keep nesting shallow.** One or two levels of nesting is usually enough. Deeply nested folders become harder to navigate.
Folders are shared across your team. Any team member can see and organize items in the same folder structure.
## Moving items into folders
You can move projects and canvases into any folder:
* **Drag and drop** — drag an item onto a folder to move it there.
* **Move dialog** — select one or more items (choose **Select items** from the options menu, or use the item's own menu), then choose **Move** and pick a destination in the **Move to folder** dialog.
Items can live at the top level (outside any folder) or inside a folder. Move them around as your workflow evolves.
## Sorting
Use the options menu to sort the current view by **Date** (recently created first) or **Name** (alphabetical). Breadcrumbs at the top of the view show where you are and let you jump back up the folder tree.
## Nested folders
Folders can contain other folders, giving you as much depth as you need. For example:
```
Q2 campaigns/
Newsletter/
April newsletter
May newsletter
Promotions/
Spring sale email
Loyalty program email
```
Drag a folder into another folder to nest it, or create a new folder while browsing inside an existing one.
## Filtering with Mine, Team, and Private
Under **Projects** in the sidebar, three filters help you focus:
* **Mine** — projects you created.
* **Team** — everything shared with the team, including the folder tree.
* **Private** — your private projects, hidden from teammates.
## Sharing folders with public links
You can share an entire folder with people outside your team using a public link. Click the share button on the folder's row and toggle on **Publish to web** — then **Copy link** to send it to reviewers. Anyone with the link can browse the folder and view the published projects inside, no Denada account needed.
See [publishing to the web](/exporting/publish-to-web) for details, including the note that individual projects must also be published to be visible.
Shared folder links are a convenient way to send a batch of projects for review — for example, sharing all the emails for an upcoming campaign with a client in a single link.
## Best practices
* **Organize by campaign.** One folder per campaign keeps related projects and canvases together.
* **Archive old work.** Create an "Archive" folder to move completed campaigns out of the way without deleting them.
* **Use clear names.** Descriptive folder names save time when you or a teammate are looking for something later.
* **Keep nesting shallow.** One or two levels of nesting is usually enough. Deeply nested folders become harder to navigate.
Folders are shared across your team. Any team member can see and organize items in the same folder structure.